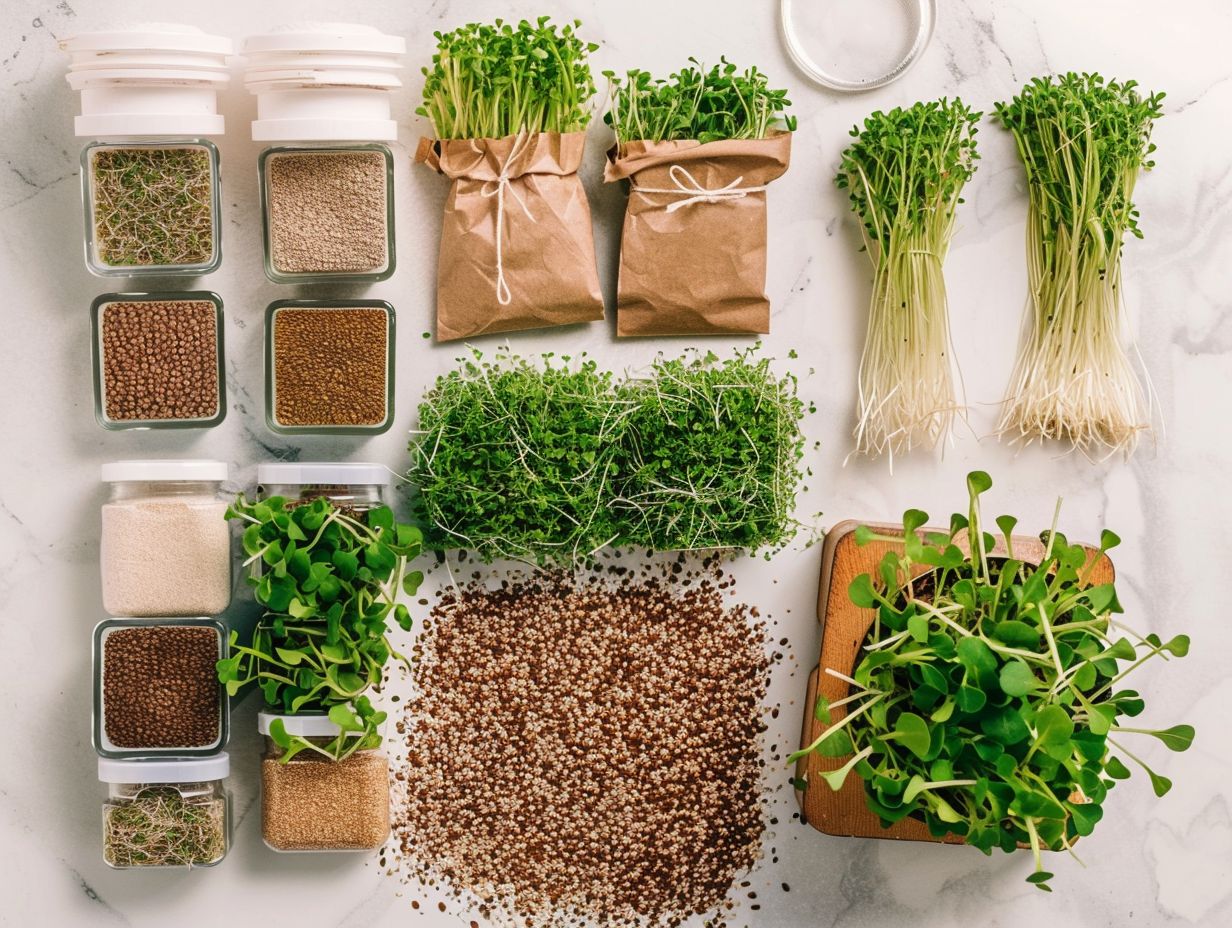
Interested in growing your own microgreens but not sure where to start?
DIY Microgreen Growing Kits are a cost-effective, nutrient-dense, and easy way to grow these tiny but mighty greens right in your own home.
We will explore why you should grow your own microgreens, the basic supplies needed to get started, how to set up your microgreen growing kit, how long it takes for microgreens to grow, how to harvest and store your microgreens, and common mistakes to avoid.
Let’s get growing!
Key Takeaways:

What Are Microgreens?
Microgreens are young vegetable greens that are approximately 1 3 inches tall and are harvested just after the first true leaves have developed. They are packed with nutrients and are known for their concentrated flavors.
This superfood gained popularity due to its high nutritional value, containing up to 40 times more vitamins and nutrients than mature plants.
Microgreens are not only a feast for the taste buds but also a powerhouse of antioxidants, vitamins, and minerals essential for a healthy diet. These mini greens come in a variety of flavors, from spicy radish to earthy beet, offering a versatile and colorful addition to salads, sandwiches, and dishes.
Why Should You Grow Your Own Microgreens?
Growing your own microgreens is a rewarding experience that allows you to enjoy fresh and nutrient-dense vegetables right from your kitchen. It ensures a fresh supply of essential nutrients and promotes sustainable practices.
Homegrown microgreens offer numerous advantages beyond just convenience. These tiny plants are packed with vitamins, minerals, and antioxidants, making them a powerhouse of nutrition. By cultivating microgreens at home, you have full control over the growing process, ensuring they are free from harmful chemicals and pesticides.
Plus the nutritional benefits, growing microgreens also has positive environmental impacts. Producing your own food reduces the carbon footprint associated with transportation and packaging. This sustainable practice promotes eco-friendly living and contributes to a healthier planet.
Cost-effective
One of the key reasons to grow your own microgreens is that it is cost-effective compared to purchasing them from a store. Setting up a small microgreen farm can lead to long-term savings and a fresh supply.
Many individuals who have embarked on the journey of cultivating their microgreens have reported significant reductions in their grocery bills. By investing in seeds, soil, and basic equipment, they have been able to enjoy a bounty of flavorful greens without frequent trips to the supermarket. The satisfaction of harvesting your own vibrant microgreens, knowing they are free from harmful chemicals often found in commercial products, adds another layer of value to the cost-effectiveness.
Nutrient-dense
Microgreens are exceptionally nutrient-dense, containing high levels of vitamins, minerals, and antioxidants essential for maintaining good health.
Their concentrated nature makes them a valuable addition to any diet. These young vegetable greens are harvested just after the first leaves have developed and are known for their intense flavors and diverse textures. Varieties like Zesty Mix and Mild Mix are particularly popular for their unique taste profiles and exceptional nutrient content.
Easy to Grow
Microgreens are easy to grow, requiring minimal space and basic care. With adequate sunlight, water, and the right growing medium, they can be cultivated successfully even in a kitchen or on a sunny balcony.
Regarding sunlight, microgreens prefer bright indirect light but can thrive with as little as 4-6 hours of sunlight a day. Watering them is a delicate art; it’s crucial to ensure they stay moist but not waterlogged. As for the growth medium, a shallow container filled with a good-quality potting mix is usually sufficient. ECO-logica srl recommends regularly misting the microgreens to maintain moisture levels and prevent the soil from drying out too much. Different environments may require adjusting watering schedules or placement for optimal growth.
What Are the Basic Supplies Needed for Growing Microgreens?
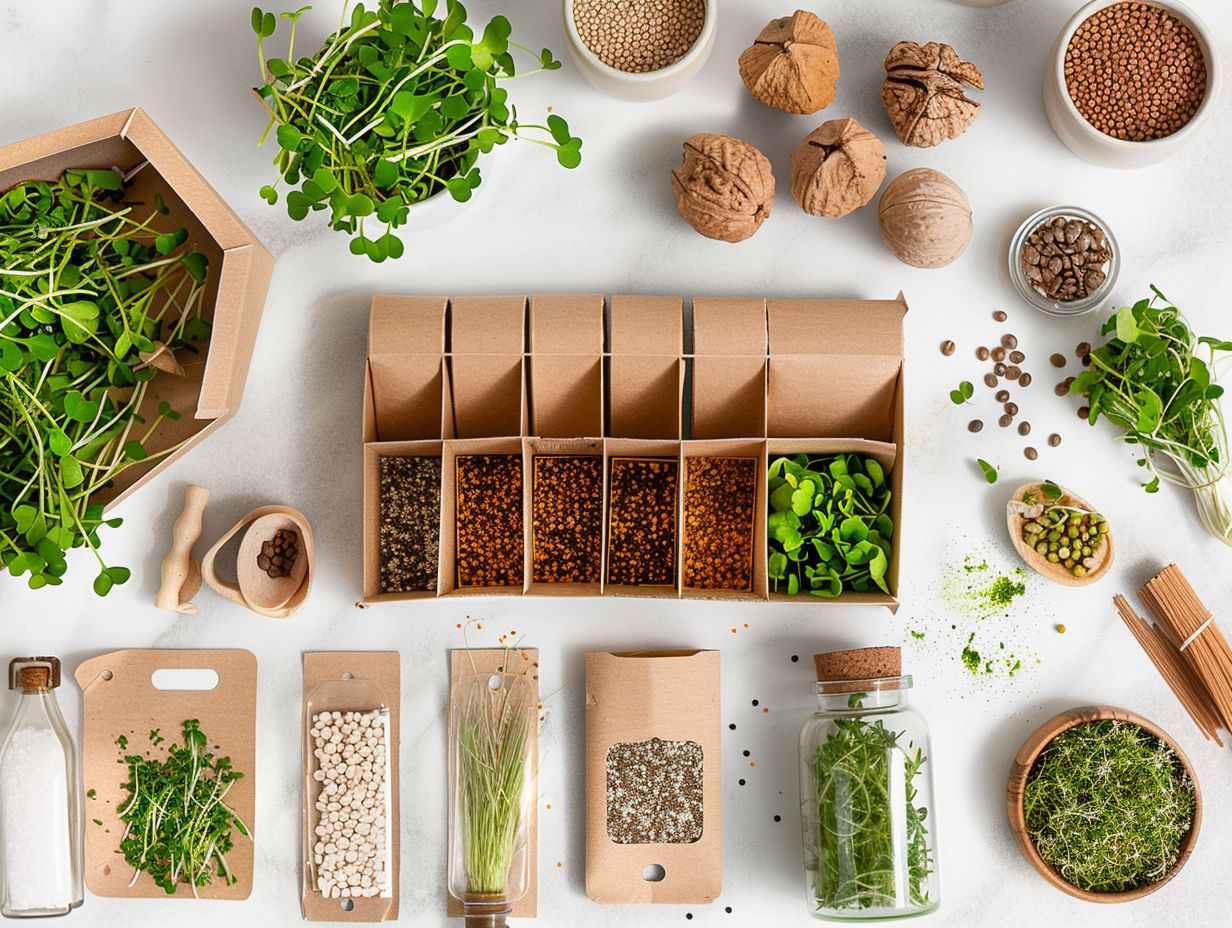
 To grow microgreens, you will need seeds of your desired variety, trays or containers for planting, a suitable growing medium, water for irrigation, and adequate sunlight or artificial lighting.
When selecting trays for growing microgreens, it’s advisable to opt for ones with good drainage to prevent waterlogging. Expert guidance by Francesco Di Gioia suggests using shallow trays or hydroponic systems for optimal growth. For seeds, ensure they are untreated and specific to microgreen production. Commonly recommended options include broccoli, radish, kale, and sunflower seeds.
Regarding the growing medium, a blend of coco coir and compost is considered effective, providing essential nutrients for vigorous growth. Organic potting mix or peat moss can also serve as suitable alternatives. Maintaining consistent moisture levels through gentle watering is crucial to ensure healthy development.
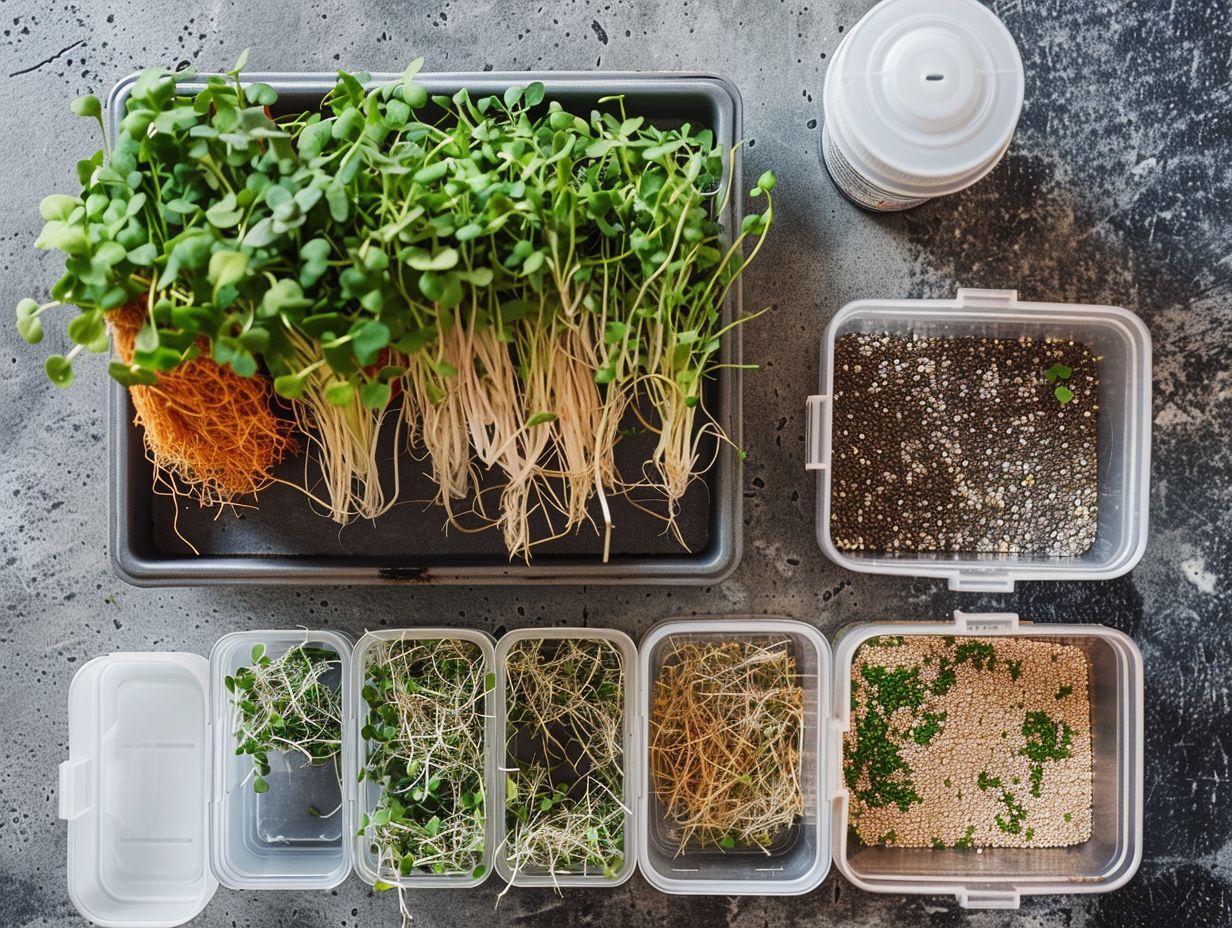
Growing Containers
Choosing the right growing containers or trays is crucial for successful microgreen cultivation. Opt for containers with good drainage and enough space for the plants to thrive.
When selecting containers, consider the size according to the number of microgreens you intend to grow. Too small a container can lead to overcrowding and hinder growth. Additionally, reusability is an important factor to reduce environmental impact and save costs in the long run. Look for durable containers that can be easily cleaned and reused for multiple batches of microgreens.
Another handy tool to have for microgreen cultivation is a pair of kitchen scissors, which make harvesting a breeze compared to using other tools.
Growing Medium
The growing medium for microgreens plays a vital role in providing essential nutrients and moisture to the plants. A well-draining soil mix or a soilless medium is commonly used for successful cultivation.
Choosing the right medium can significantly impact the growth and flavor of your microgreens. Soil mixtures are ideal for those seeking a more traditional approach, offering a natural source of nutrients for the plants. On the other hand, soilless options, such as coconut coir or peat moss, provide a sterile environment that minimizes the risk of pests and diseases.
Regarding moisture levels, maintaining a delicate balance is key. Overwatering can lead to mold or root rot, while underwatering may stunt growth. Regularly check the moisture content of the medium by lightly pressing your finger into it – it should be moist but not waterlogged.
Seeds
Selecting high-quality seeds is essential for the successful germination and growth of microgreens. Choose seeds of the desired plant species that are specifically suited for microgreen production.
Seed quality plays a crucial role in determining the success of your microgreen cultivation. When selecting seeds, look for reputable suppliers or expert recommendations, such as those provided by institutions like Penn State. Opt for organic or untreated seeds to avoid any chemical interference during the growth process. Each plant species has different requirements, so be sure to research and choose varieties that are known to thrive as microgreens.
Water
Water is a crucial element in the growth of microgreens, as it ensures proper hydration and nutrient uptake for the plants. Consistent and gentle irrigation is key to successful cultivation.
Microgreens, being delicate and fast-growing plants, require a careful balance of moisture to thrive. It is recommended to water them lightly but frequently, ensuring that the soil remains moist but not waterlogged. Overwatering can lead to root rot and other issues, impacting the overall health of the microgreens. A good practice, as suggested by experts from Google LLC., is to maintain a consistent watering schedule, keeping an eye on the moisture levels and adjusting as needed to provide the perfect growing environment for these young plants.
How to Set Up Your Microgreen Growing Kit?
Setting up your microgreen growing kit involves selecting a suitable location, preparing the necessary supplies, and following proper planting and care instructions to ensure successful growth.
When choosing a location, opt for an area that receives ample sunlight, preferably near a window or under grow lights. Next, gather essentials like organic soil or a hydroponic growing medium, microgreen seeds, trays, and a spray bottle for watering.
Once you have your supplies ready, fill the trays with the soil or growing medium, and spread the seeds evenly over the surface. Lightly press the seeds into the soil and mist with water.
Make sure to maintain consistent moisture levels by misting the seeds daily. After a few days, you will notice the seeds germinating. As they grow, ensure they receive sufficient light and continue to water as needed.
Selecting the Right Location
 Choosing the right location for your microgreens is essential for their growth. Opt for a sunny place near a window or on a balcony where they can receive adequate sunlight.
Proper sunlight exposure plays a crucial role in the development of microgreens, as it aids in photosynthesis and overall plant health. When positioning your microgreens, ensure they have access to at least 4-6 hours of sunlight per day to thrive. Placing them in a sunny spot not only promotes better growth but also enhances the flavor and nutritional value of the greens.
Windowsills and balconies are popular choices for growing microgreens due to their abundant natural light. Remember to rotate the trays regularly to prevent your microgreens from leaning towards the light source excessively, ensuring balanced growth.
Preparing the Growing Containers
Before planting your microgreens, ensure that the growing containers or trays are clean and sterilized to prevent contamination. Proper storage of containers is important to maintain hygiene.
To clean your growing containers, begin by removing any soil or debris from the previous planting. Wash the containers with warm, soapy water, ensuring to scrub all surfaces thoroughly. Rinse the containers with clean water and let them air dry completely before use.
For sterilization, you can soak the containers in a mixture of water and vinegar or use a diluted bleach solution. Make sure to rinse them well after sterilizing to remove any remaining residue.
Preparing the Growing Medium
Preparing the growing medium involves selecting a suitable soil or compost mix that is rich in nutrients and provides good drainage for the microgreens. Properly moisten the medium before planting.
Maintaining adequate moisture levels is critical for the successful growth of microgreens. Once the soil or compost mix is properly prepared and moistened, make sure to water the seeds regularly but avoid overwatering to prevent mold or rot. A moist but not waterlogged environment is key for fostering healthy growth.
Consider covering the seeds with a damp cloth or plastic wrap until germination to retain moisture. Continuously monitor the moisture levels by spritzing the soil as needed to create an optimal growing environment.
Planting the Seeds
Planting the seeds for microgreens requires careful spacing and even distribution to ensure uniform growth. Follow specific guidelines for each plant species to achieve the best results.
When planting microgreen seeds, it’s crucial to consider the different needs of various plant species. For example, smaller seeds like broccoli and radish should be sown densely, while larger seeds such as sunflowers require more spacing. The depth at which you sow the seeds also plays a key role in their germination. Shallower depths are suitable for tiny seeds, whereas larger seeds may need to be buried a bit deeper. Watering techniques vary depending on the plant type. Some seeds prefer misting to avoid dislodging them, while others benefit from a gentle shower to settle them into the soil.
Watering and Caring for Your Microgreens
Proper watering and care are crucial for the healthy growth of microgreens. Ensure consistent moisture levels, adequate sunlight exposure, and timely maintenance to promote vibrant plant development.
Regarding watering your microgreens, it’s vital to strike a balance; while they need moisture to thrive, they also dislike being waterlogged. One key aspect to keep in mind is to water your microgreens lightly but frequently, ensuring the top layer of soil remains slightly damp. This prevents mold growth and root rot. Consider using a spray bottle to gently mist the plants, ensuring even coverage without disturbing the delicate greens.
How Long Does It Take for Microgreens to Grow?
The time taken for microgreens to grow varies depending on the plant species and environmental conditions. On average, microgreens can be ready for harvest within 7 to 21 days after germination.
During the initial stage, which is the germination phase, microgreens start to sprout from seeds. This process usually lasts 2-7 days and requires a warm, moist environment for optimal growth. Once the seeds have sprouted, the plants enter the growth phase, where they develop their true leaves and start photosynthesizing to produce energy. Factors such as temperature, light intensity, and humidity play crucial roles in determining the speed at which microgreens reach maturity.
How to Harvest and Store Your Microgreens?
 Harvesting microgreens involves using kitchen scissors to cut the greens just above the soil level. Store harvested microgreens in a Ziploc bag or a container in the refrigerator to maintain freshness.
When harvesting microgreens, it is crucial to ensure that you are using sharp and clean kitchen scissors to make clean cuts. Precision is key to avoid damaging the delicate leaves and stems, allowing for better regrowth. After cutting, gently pat the microgreens dry using a paper towel to remove excess moisture, which can lead to spoilage.
To prolong the shelf life of your harvested microgreens, consider lining the storage container with a damp paper towel to maintain humidity levels. This step can help keep the greens crisp and fresh for longer periods. Be mindful of any wilted or yellow leaves, as removing these before storage can further enhance the overall quality.
What Are Some Common Mistakes to Avoid When Growing Microgreens?
When growing microgreens, common mistakes to avoid include overwatering, inadequate light exposure, and using poor-quality seeds. Seek advice from experts or refer to FAQs to address any cultivation challenges.
Overwatering is a prevalent issue that can lead to root rot and stunted growth in microgreens. To prevent this, ensure proper drainage in your trays and water sparingly, allowing the soil to dry slightly between watering sessions.
Regarding light exposure, microgreens require ample sunlight or artificial light sources for healthy growth. Placing them near a window with consistent sunlight or using grow lights can help meet their light needs.
Using high-quality seeds from reputable sources is crucial for successful germination and robust plant development.
Frequently Asked Questions
What are microgreens and why should I grow them?
Microgreens are young vegetable greens that are harvested after the first set of true leaves have developed. They are packed with nutrients and can be grown easily at home. Growing microgreens in a DIY kit allows you to have a constant supply of fresh greens without having to constantly buy them from the store.
What does a DIY microgreen growing kit include?
A DIY microgreen growing kit typically includes a container, soil or growing medium, and seeds. Some kits may also include instructions and other accessories such as trays or watering tools. You can also create your own kit using household materials.
How do I get started with a DIY microgreen growing kit?
To get started, first choose a container or tray that is at least 2-3 inches deep and has drainage holes. Fill the container with your chosen growing medium and dampen it with water. Sprinkle the seeds evenly over the surface and lightly press them into the soil. Place the container in a well-lit area and water regularly.
What types of seeds can I use for my microgreen kit?
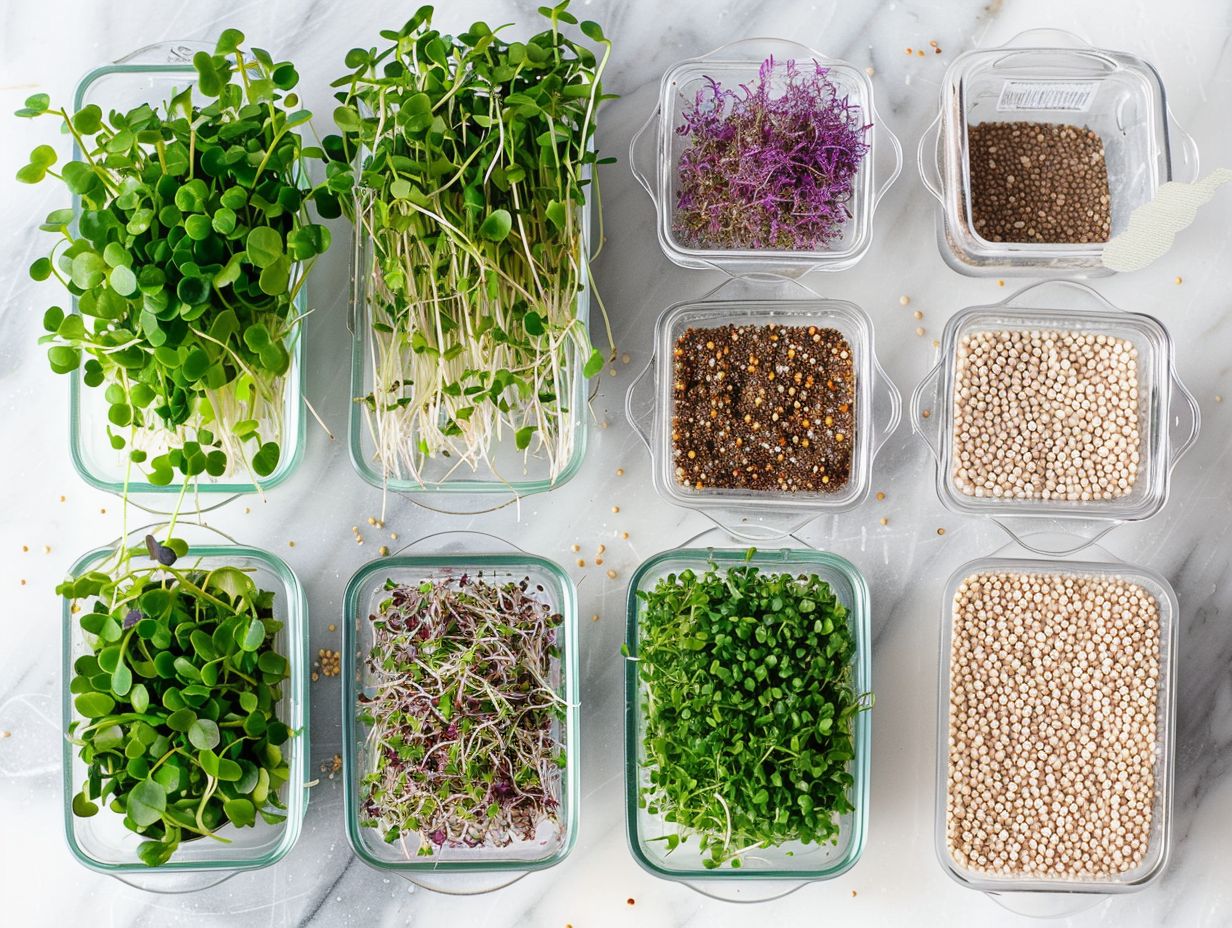
You can use a variety of seeds for your microgreen kit, including vegetables, herbs, and even some flowers. Some popular microgreen options include broccoli, kale, radish, and sunflower seeds. It is important to use seeds specifically labeled for microgreens, as regular seeds may not produce the same results.
How long does it take for microgreens to grow?
Microgreens typically take 1-2 weeks to grow, depending on the type of seed and growing conditions. You can start harvesting when the first set of true leaves have developed, which is usually around 10-14 days after sowing. It is important to keep an eye on the growth of your microgreens and harvest them when they reach the desired size.
Can I reuse my DIY microgreen growing kit?
Yes, you can reuse your DIY microgreen growing kit multiple times. After harvesting your microgreens, simply remove the remaining roots and soil, and clean the container thoroughly. You can then refill the container with fresh soil and seeds to start another round of microgreens. This makes DIY microgreen growing kits a cost-effective and sustainable option for growing fresh greens at home.
Leave a Reply