Have you ever heard of microgreens? These tiny, nutrient-packed greens are not only delicious but also incredibly easy to grow indoors.
In this comprehensive guide, we’ll walk you through everything you need to know about growing microgreens at home. From the best varieties to grow to the materials you’ll need and a step-by-step guide to planting and caring for your microgreens, we’ve got you covered.
Grab your growing trays and let’s get started on this exciting indoor gardening journey!
Key Takeaways:

What Are Microgreens?
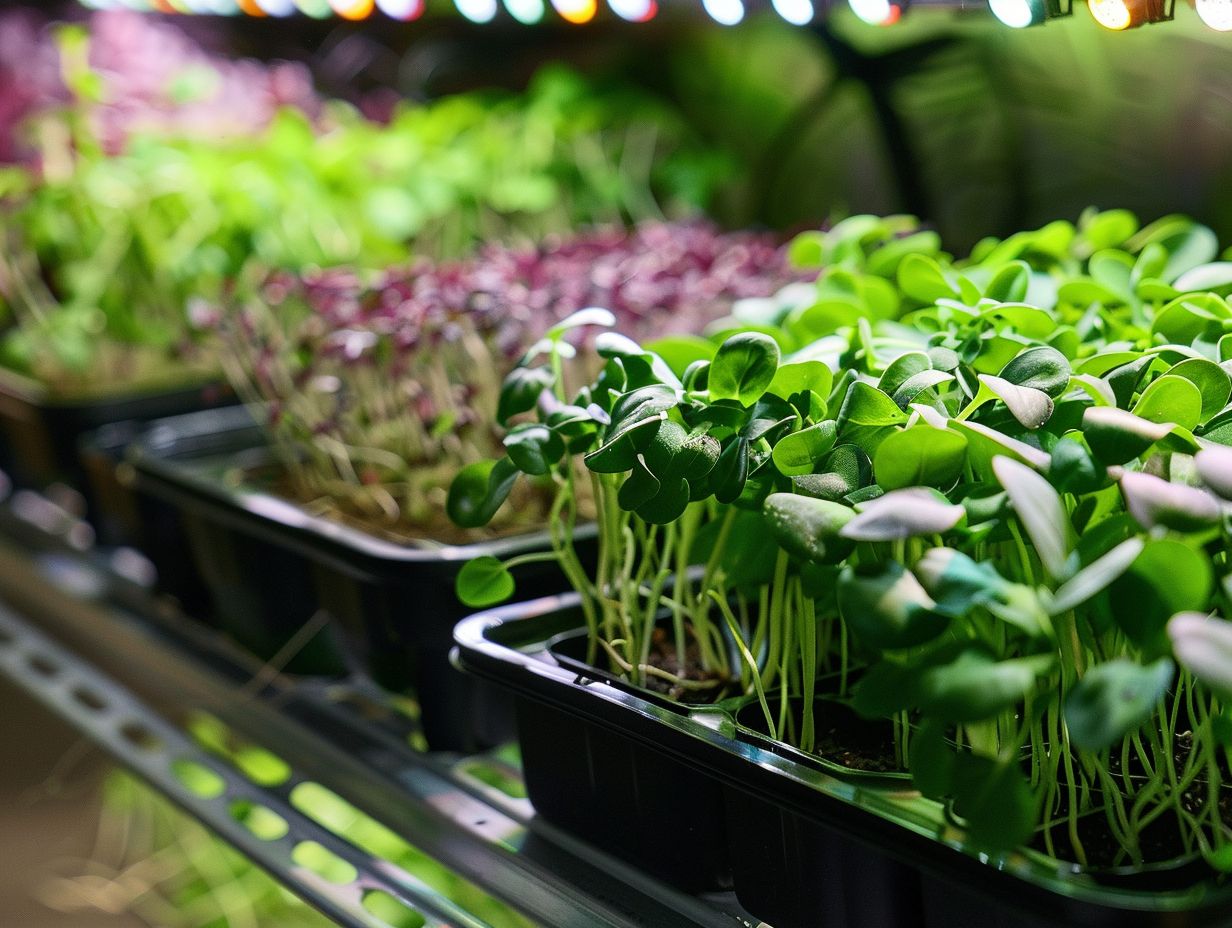
Microgreens are young vegetable greens that are approximately 1-3 inches tall and harvested just after the first leaves appear.
These miniature greens are packed with intense flavors, vibrant colors, and concentrated nutrients, making them a popular choice among chefs and health enthusiasts. They are harvested within 7-21 days, depending on the type of seeds used, allowing for a quick turnaround from planting to consumption. Their small size and delicate textures add a gourmet touch to dishes, salads, sandwiches, and garnishes. Microgreens require well-draining soil, proper watering, and adequate sunlight to thrive, helping them accumulate essential vitamins, antioxidants, and minerals.
Why Grow Microgreens Indoors?
Growing microgreens indoors provides numerous benefits, including easy access to fresh, nutrient-dense greens year-round.
Indoor microgreens cultivation allows for greater control over the growing environment, ensuring optimal exposure to light and water. With indoor cultivation, you can avoid pesticides and other chemicals commonly used in traditional farming, promoting health. ability to grow microgreens in a controlled environment allows for greater control over the quality of the plants and their optimal growth. You can avoid pesticides and other chemicals, promoting a healthier environment. <the
Year-round Availability One of the key advantages of growing microgreens indoors is the ability to have a fresh supply throughout the year, regardless of the season.
Indoor microgreens cultivation offers a time-saving solution for those seeking a constant source of fresh greens. With a continuous growth cycle, you can ensure a steady supply of nutrient-rich microgreens every day. This eliminates the need for frequent trips to the grocery store and allows you to conveniently harvest what you need right at home.
Space-saving
Indoor microgreens cultivation saves space as it can be done on trays or shelves, making it ideal for urban dwellers or those with limited gardening space.
Urban gardening enthusiasts often turn to growing microgreens indoors due to their space-efficient nature. Utilizing a variety of containers such as shallow trays, recycled egg cartons, or even mason jars allows for a continuous harvest of flavorful greens right at your fingertips.
The versatility of indoor microgreen cultivation means you can transform any corner of your living space into a thriving mini garden. This method not only provides a fresh supply of nutritious greens but also adds a touch of greenery to indoor spaces, enhancing the overall ambiance.
Nutritious
Microgreens are packed with essential nutrients and offer a wide variety of flavors and textures, making them a nutritious addition to any diet.
These young vegetable greens have gained popularity not only for their taste but also for their impressive health benefits. Despite their small size, microgreens are concentrated with vitamins, minerals, and antioxidants, providing a significant nutrient boost to dishes. The diverse range of microgreen varieties, including broccoli, radish, and kale, ensures a plethora of nutrients in every serving.
What Are the Best Microgreens to Grow Indoors?
When growing microgreens indoors, some of the best varieties to consider are radish, sunflower, pea shoots, and broccoli due to their ease of cultivation and delicious flavors.
Radish microgreens are known for their spicy kick, which adds a zesty flavor to salads and sandwiches. They are quick to germinate and grow, making them a favorite choice for beginners.
Sunflower microgreens are packed with nutrients like vitamin E and can add a nutty taste to dishes.
- Pea shoot microgreens are pleasantly sweet, with a delicate crunch, ideal for garnishing various dishes. They are rich in antioxidants and vitamin C.
- Broccoli microgreens have a mild, slightly peppery flavor and are loaded with vitamins and minerals like potassium and fiber.
These varieties are not only tasty but also offer a concentrated source of nutrition.
Radish
Radish microgreens are known for their peppery flavor and vibrant colors, making them a popular choice for indoor cultivation.
Regarding cultivating radish microgreens, selecting high-quality seeds is essential. Opt for organic radish seeds as they will ensure a successful and healthy harvest. For the soil, choose a well-draining, sterile mix with plenty of organic matter. A popular choice is a light, fluffy potting mix or a specific microgreen soil. It’s crucial to provide the seeds with a moist environment for germination, so watering regularly but avoiding waterlogging is key.
Sunflower

Sunflower microgreens are prized for their nutty taste and crunchy texture, requiring ample light and regular watering for optimal growth indoors.
Light exposure plays a crucial role in the cultivation of sunflower microgreens as they require at least 6-8 hours of direct sunlight daily. If natural sunlight is insufficient, using a grow light can be beneficial to ensure they receive the necessary light energy for photosynthesis.
Maintaining a consistent watering schedule is vital for their growth. Water the microgreens gently once or twice a day, keeping the soil moist but not waterlogged.
Understanding the key growth stages of sunflower microgreens, from germination to harvest, is essential to produce high-quality greens.
Pea Shoots
Pea shoots microgreens are delicate and flavorful, requiring consistent watering and proper growing techniques for successful indoor cultivation.
Regarding watering pea shoot microgreens, it is essential to strike a balance. Overwatering can lead to root rot, while underwatering can stunt their growth. A good rule of thumb is to water them when the top layer of the soil feels dry to the touch, but not completely parched. Avoid using cold water straight from the tap, as this can shock the delicate roots. Opt for room temperature water instead to give your microgreens the best chance at thriving.
Broccoli
Broccoli microgreens offer a mild, slightly bitter taste and are easy to grow indoors using trays or containers, making them a popular choice for home cultivation.
When cultivating broccoli microgreens, selecting high-quality seeds is crucial for successful growth. Opt for organic, non-GMO seeds that are specifically meant for microgreen cultivation. These seeds are packed with nutrients and can sprout easily within days.
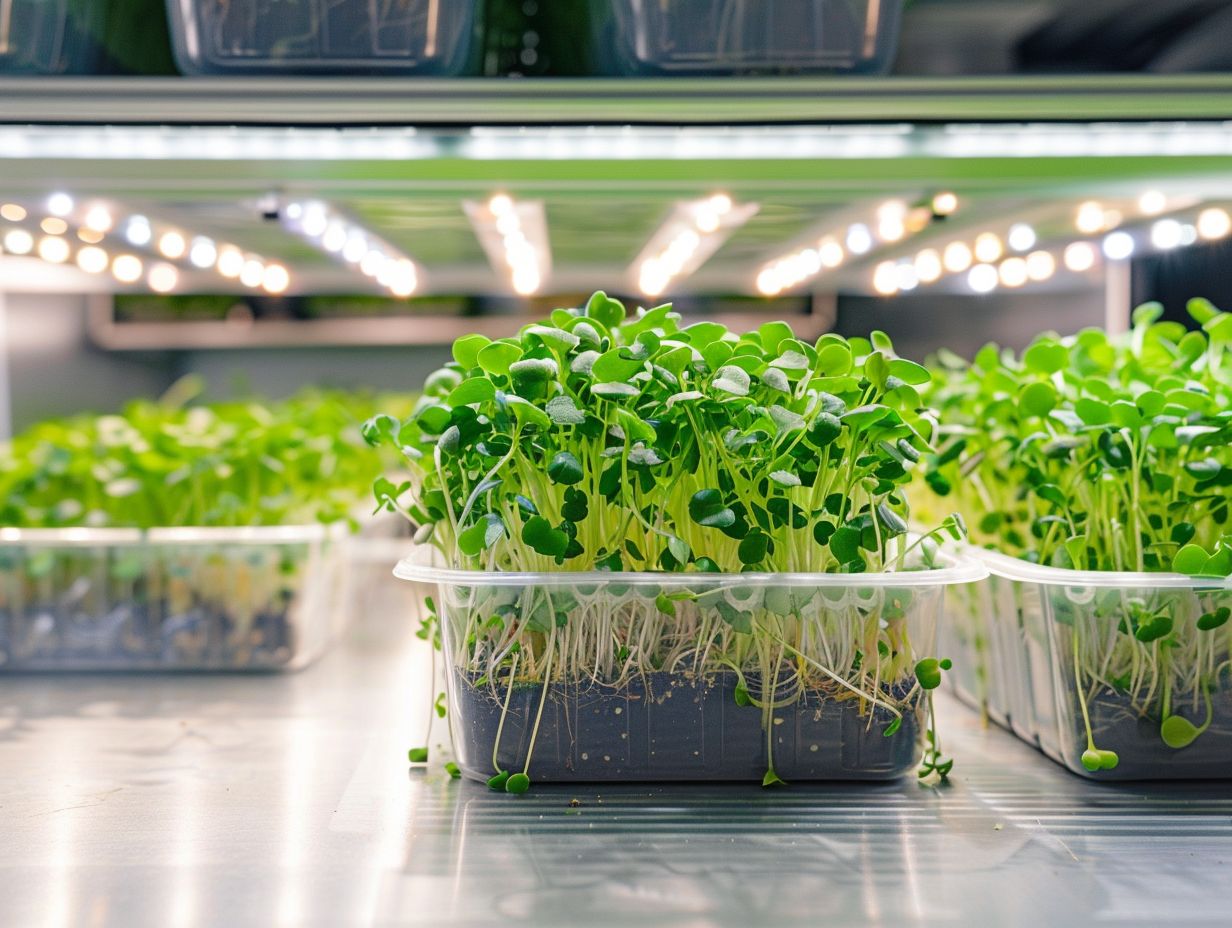
Tray-based growing methods are commonly used for cultivating broccoli microgreens due to their convenience and efficiency. By using trays with drainage holes filled with a balanced growing medium, such as coconut coir or soil, you can create an optimal environment for the seeds to germinate and thrive.
Maintaining the right indoor growing conditions is essential to ensure healthy growth. Place the trays in a well-lit area with indirect sunlight and maintain a consistent temperature between 65-75 F (18-24 C). Regularly water the seeds to keep the growing medium moist but not waterlogged, allowing proper airflow to prevent mold or fungus growth.
What Materials Do You Need to Grow Microgreens Indoors?
To grow microgreens indoors successfully, you will need growing trays, high-quality potting soil, a variety of seeds, and a consistent water supply.
Choosing the right growing trays is crucial for the cultivation of microgreens. Opt for shallow trays with good drainage to prevent waterlogging and mold development. High-quality potting soil enriched with organic matter is essential for providing the necessary nutrients for your microgreens to thrive.
Select a variety of seeds tailored to your taste preferences or nutritional needs. Popular choices include sunflower, radish, and broccoli. Properly watering your microgreens is key to their growth – ensure the soil is kept moist but not waterlogged.
Growing Trays
Selecting the right growing trays is crucial for successful microgreens cultivation indoors, as they provide the necessary space and drainage for optimal plant growth.
When choosing trays for growing microgreens indoors, consider the size of the tray first. Look for trays that are shallow, around 1-2 inches deep, to allow for the proper development of the delicate microgreen roots. Opt for materials such as food-safe plastic, terra cotta, or ceramic, as these are durable and provide good insulation. Drainage is another critical factor; ensure that the trays have drainage holes or trays with slits to prevent waterlogging, which can lead to root rot. Keep these factors in mind to create an optimal environment for your microgreens’ growth.
Potting Soil
High-quality potting soil rich in nutrients is essential for supporting the healthy growth of microgreens indoors, providing the necessary foundation for nutrient absorption and root development.
When cultivating microgreens, the composition of the soil is crucial. An ideal potting mix for microgreens should be well-draining, light, and loose to allow for proper aeration and root growth. This type of soil usually consists of a balanced blend of peat moss, perlite, vermiculite, and other organic materials. The mix’s ability to retain moisture is essential, ensuring that the plants receive adequate water without becoming waterlogged. This perfect balance of nutrients and moisture levels directly influences the overall health and vigor of the microgreens.
Seeds
Selecting high-quality seeds suited for microgreens cultivation is essential to ensure a successful and bountiful harvest when growing indoors.
When choosing seeds for indoor microgreens, it’s crucial to consider the variety that best suits your needs. Different seeds offer unique flavors, textures, and colors, allowing you to create diverse and visually appealing dishes. Opt for certified organic seeds to avoid pesticides and chemicals that can affect the final product’s quality.
Before sowing, make sure to pre-soak the seeds to kickstart the germination process. Once you have selected the appropriate seeds, prepare your tray by evenly spreading them out for optimal growth.
Water
 A consistent and adequate water supply is crucial for the growth and development of microgreens indoors, ensuring proper hydration and nutrient uptake for optimal plant health.
Regarding watering your microgreens, the frequency plays a key role in maintaining the right balance. Overwatering can lead to root rot and other issues, while under-watering can stunt growth and ultimately affect the flavor and quality of your greens.
Proper watering techniques involve checking the soil moisture regularly, typically every day or every other day, depending on the specific needs of your plants. It’s important to water gently, aiming for even coverage without causing waterlogging.
The quality of water you use is also essential for growing healthy microgreens. Tap water can contain chlorine or other chemicals that may harm sensitive plants. Consider using filtered water or letting your tap water sit out overnight to allow chemicals to dissipate before watering your microgreens.
Step-by-Step Guide to Growing Microgreens Indoors
Follow these steps for successful indoor microgreens cultivation: prepare the growing trays, plant the seeds, and provide proper water and care for healthy microgreen growth.
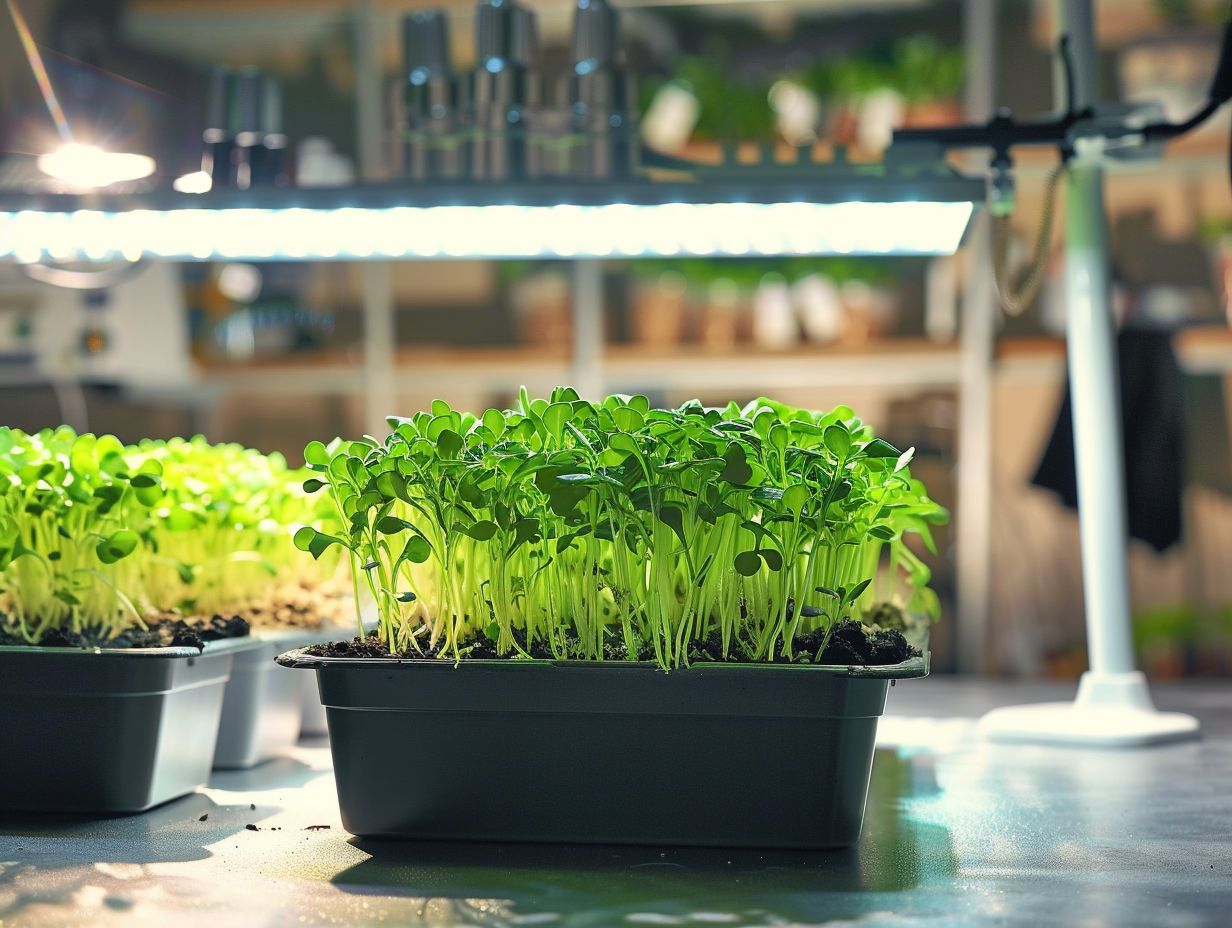
Start by selecting shallow trays with drainage holes to allow excess water to escape. Fill the trays with a well-draining growing medium, such as potting mix or coconut coir.
Sow the seeds evenly across the surface, ensuring they are not overcrowded. Lightly press the seeds into the soil and cover them with a thin layer of growing medium. Water the trays gently, making sure to keep the soil moist but not waterlogged.
Preparing the Growing Trays
Before planting your microgreen seeds, ensure the growing trays are clean, sanitized, and filled with a layer of moist potting soil to support seed germination.
Once the trays are prepped, it’s time to move on to the next steps for optimal growth. Start by creating a uniform layer of soil, ensuring it’s slightly compacted but not overly dense. Moisture is key; the soil should be damp but not waterlogged; adequate drainage holes will prevent water accumulation. Scatter the seeds evenly across the surface, pressing them gently into the soil without burying them too deep.
- Keep the trays in a warm, well-lit area to promote germination, ensuring the ideal conditions for growth.
- Monitor the moisture levels regularly to prevent drying out or overwatering.
- Remember to cover the trays initially with a humidity dome or plastic wrap to create a mini-greenhouse effect.
- Within a few days, you’ll notice the seeds germinating, and it’s time to remove the cover and continue providing light and moisture for healthy microgreen growth.
Planting the Seeds
Carefully plant the microgreen seeds on the prepared soil surface, ensuring even distribution and gentle watering to encourage germination and healthy seedling growth.
When watering the seeds post-planting, it’s crucial to maintain a delicate balance. Avoid over-watering, as excessive moisture can lead to rotting of the seeds. Keep the soil consistently moist but not waterlogged by misting or using a gentle spray.
Seed spacing is another critical factor. Ensuring adequate space between seeds allows proper air circulation and reduces the risk of mold or disease. Depending on the type of seeds, you may need to adjust the spacing for optimal growth.
For successful germination, provide an optimal environment with consistent temperatures and adequate sunlight exposure. Monitor and adjust light levels and temperature accordingly to support healthy seed development.
Watering and Caring for the Microgreens
Regularly water the microgreens to keep the soil moist but not waterlogged, and provide adequate light and airflow for healthy growth indoors.
Regarding watering microgreens, it’s important to strike the right balance. Overwatering can lead to root rot, while underwatering can hinder growth. The key is to check the soil moisture regularly with your finger – it should be damp but not soggy. Watering frequency may vary based on factors such as temperature and humidity, but a good rule of thumb is to water them every day or every other day.
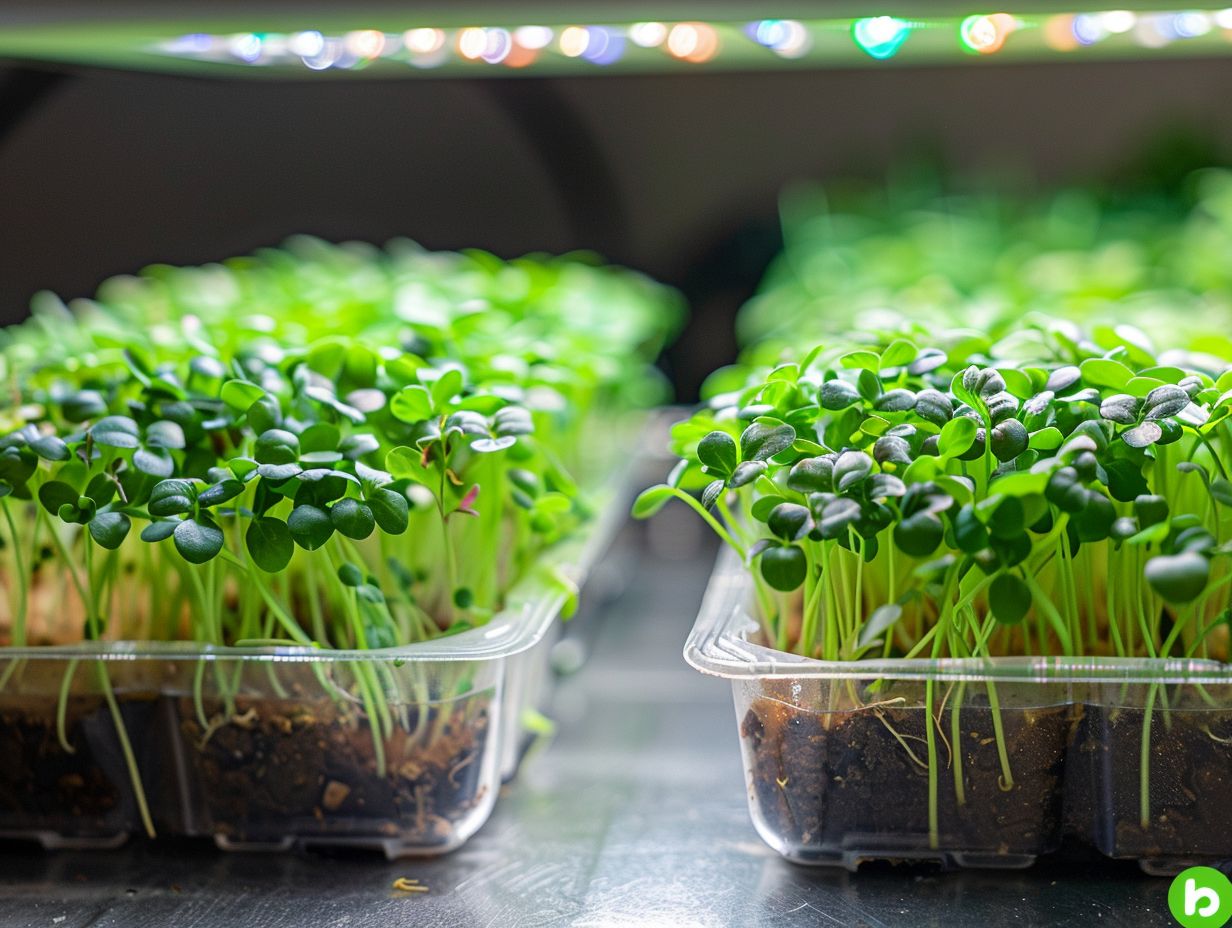
For light requirements, microgreens thrive in bright, indirect sunlight. Place them near a window where they can receive ample natural light. If sunlight is limited, consider using a grow light to supplement their light needs. Remember to rotate the trays regularly to ensure even exposure to light for uniform growth.
In terms of maintenance, ensure proper airflow by providing ventilation, either through a small fan or by opening windows periodically. Good air circulation helps prevent issues like mold and encourages sturdy stems. Monitor the microgreens for any signs of pests or disease, and address them promptly with appropriate treatments to keep your indoor garden healthy and thriving.
How Long Does It Take to Grow Microgreens Indoors?
On average, microgreens take about 7-14 days to grow indoors from seeding to harvest, depending on the variety and growing conditions.
Once the seeds are sown, the first signs of growth typically appear within 2-4 days. At this stage, they require ample sunlight or artificial light, consistent watering, and proper air circulation. Over the next few days, you will notice the seedlings developing their first true leaves, a crucial stage indicating that they are ready for harvest. By day 10-14, most microgreens reach their peak flavor and nutritional value, making it optimal to cut them just above the soil line for consumption.
How to Harvest and Store Microgreens?
To harvest microgreens, use clean scissors to cut just above the soil level, and store the fresh harvest in a container lined with a damp paper towel< /b> in the refrigerator for extended freshness.
After cutting the microgreens, it’s crucial to ensure proper storage to maintain their quality.
- First, place the harvested greens in a container with the damp paper towel to keep them hydrated without becoming soggy. This method helps to preserve their crispness and vibrant colors for a longer period.
- Remember to seal the container tightly to prevent moisture loss.
- It is advisable to consume the harvested microgreens within 5-7 days to enjoy them at their freshest.
- Regularly check for any signs of spoilage and discard any wilting or deteriorating greens to maintain optimal freshness.
Ways to Use Microgreens in Cooking

Microgreens can be used in salads, sandwiches, smoothies, and garnishes, adding a burst of flavor, color, and nutrients to a wide range of dishes.
These delicate greens come in a wide variety of flavors, ranging from peppery arugula to tangy mustard greens, providing a rich tapestry of tastes to experiment with in your cooking. Regarding incorporating microgreens into your culinary creations, the possibilities are endless. You can sprinkle them atop pizzas or tacos for an extra kick, blend them into pesto for added freshness, or even use them as a vibrant bed for seafood dishes. Their versatility knows no bounds, making them a must-have ingredient for any adventurous cook.
Frequently Asked Questions
1. What are microgreens and why should I grow them indoors?
Microgreens are young, tender plants that are harvested when they are only a few inches tall. They are packed with nutrients and add a burst of flavor and color to dishes. Growing them indoors allows you to have a fresh supply year-round, even in small spaces.
2. What supplies do I need to start growing microgreens indoors?
To grow microgreens indoors, you will need seeds, a container, potting mix, and a light source. You can also use a tray with drainage holes, a spray bottle for watering, and a cover or plastic wrap to create a mini greenhouse.
3. How do I prepare the container and potting mix for growing microgreens?
Clean the container with warm, soapy water and rinse well. Fill it with potting mix, leaving about an inch of space at the top. Lightly water the mix until it is evenly moist, but not soggy. Firmly press down the mix to eliminate any air pockets.
4. Which seeds are best for growing microgreens indoors?
There are many types of seeds that can be grown as microgreens, including arugula, broccoli, kale, and radish. It is best to choose seeds that are labeled for sprouting or microgreens as they are tested for safety and germination rates.
5. How much light do microgreens need to grow indoors?
Microgreens need bright, indirect light to grow properly. A south-facing window is ideal, but if you don’t have one, you can use a grow light placed about 6 inches above the plants. Keep the light on for 12-16 hours a day for optimal growth.
6. How do I harvest and store microgreens once they are ready?
Once your microgreens reach a height of 1-2 inches, they are ready to be harvested. Use scissors to cut them just above the soil level. Rinse them gently and pat them dry before storing them in an airtight container in the refrigerator. They will last for about a week.
Leave a Reply