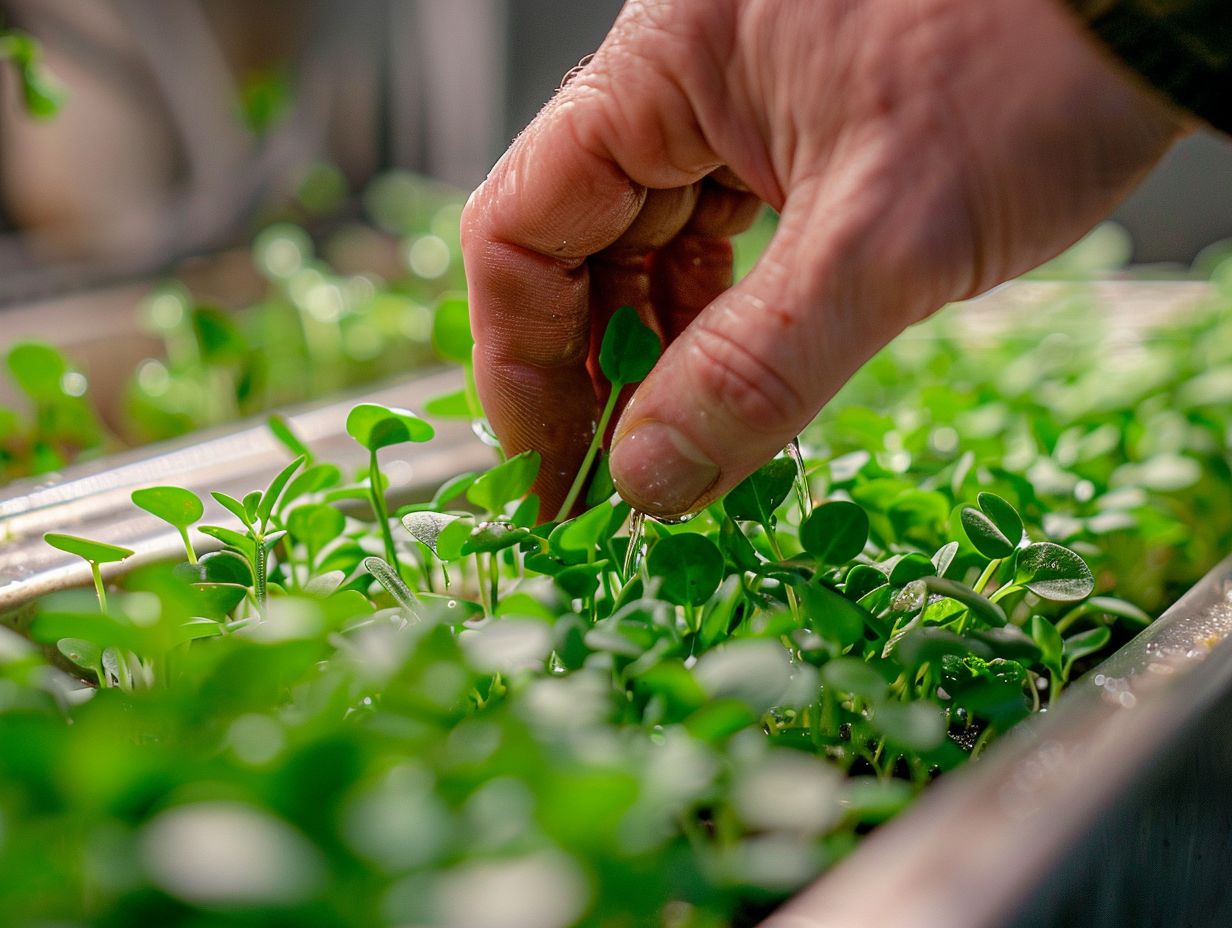
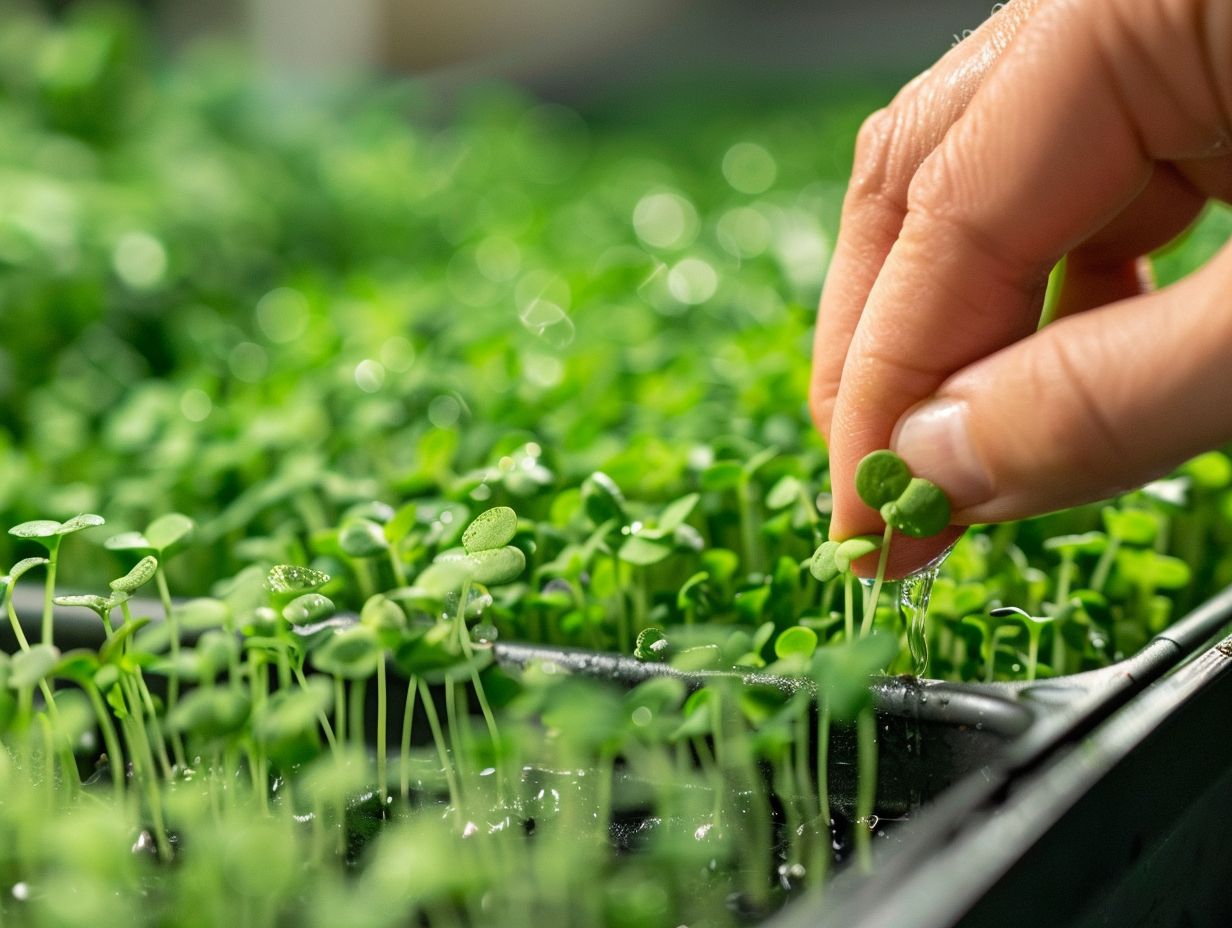
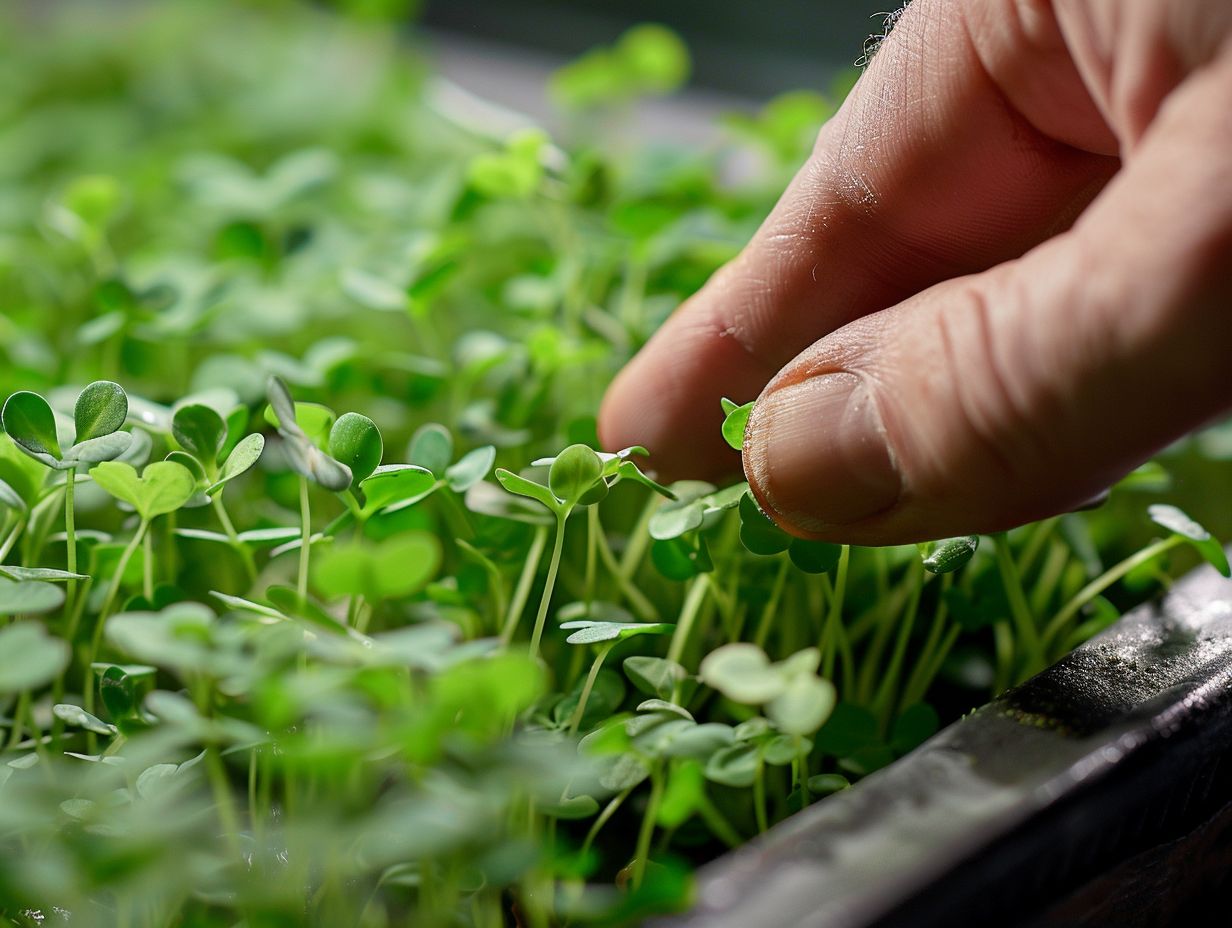
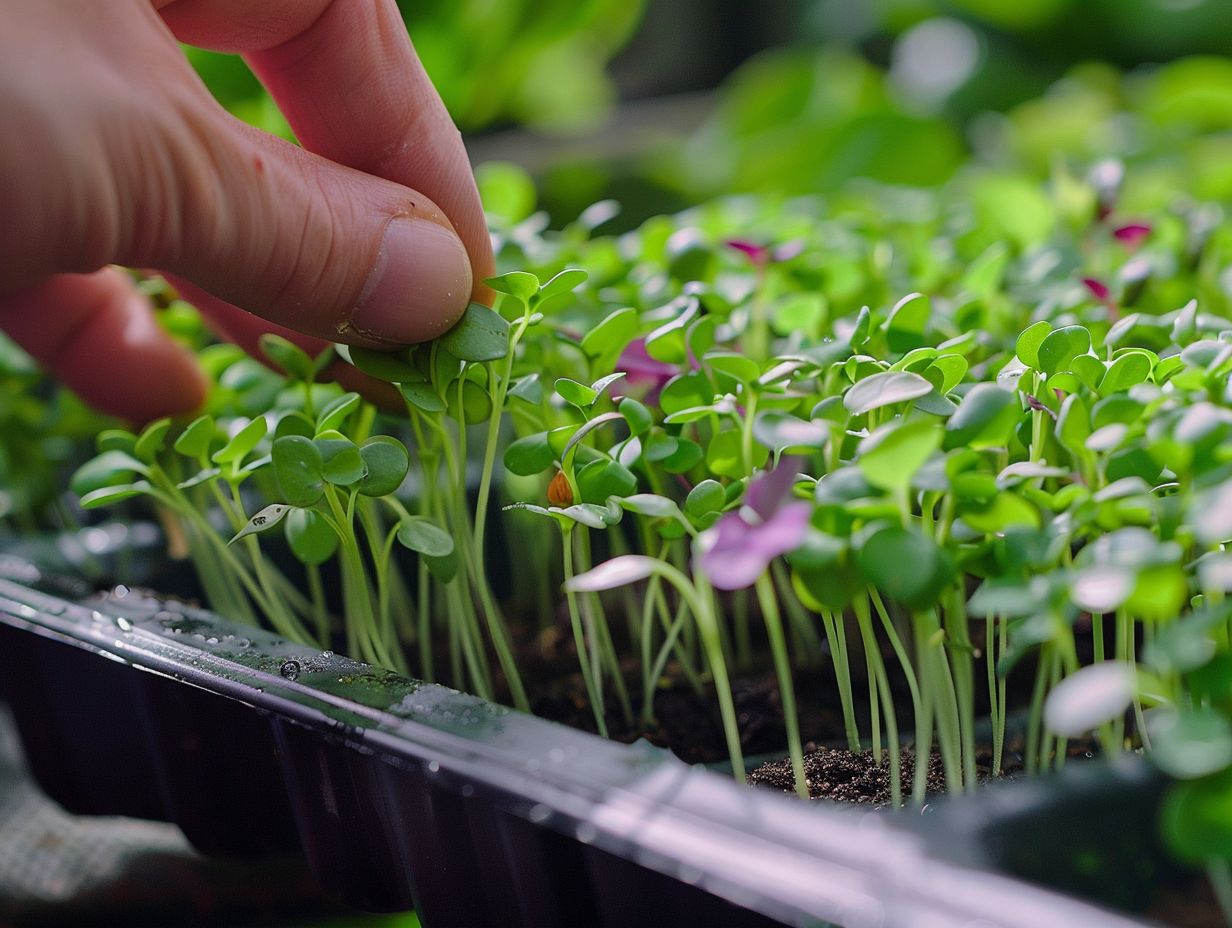
Have you ever heard of microgreens? These tiny, nutrient-packed greens have been gaining popularity for their incredible health benefits and versatility in cooking.
In this article, we will explore what microgreens are, why they are so popular, and the benefits of growing them. We will also discuss the different types of microgreens, ideal growing conditions, and the common watering techniques used to keep these greens lush and thriving.
If you’re looking to add fresh, vibrant greens to your diet, keep reading to learn more about watering techniques for microgreens.
Key Takeaways:

What Are Microgreens?
Microgreens are young vegetable greens that are approximately 1-3 inches tall and are harvested just after the first leaves have developed. These tiny plants are grown from the seeds of vegetables and herbs, offering intense flavors and various nutrients.
Microgreens typically have a growth cycle of about 1-3 weeks, making them a quick and rewarding option for home gardeners.
To plant microgreens, start by selecting a shallow container with good drainage. Fill the container with a thin layer of potting soil and sprinkle the seeds evenly over the soil surface. Lightly press the seeds into the soil and cover them with a thin layer of soil or vermiculite, misting them with water. Place the container in a sunny spot and keep the soil consistently moist.
Why Are Microgreens Popular?
Microgreens have gained popularity due to their rapid growth cycle and high nutritional content. These miniature plants offer a convenient way to incorporate fresh greens into daily meals and are favored by health-conscious individuals for their dense nutrient profile.
One of the key factors contributing to the widespread appeal of microgreens is their efficiency in growth – they mature much quicker than their full-grown counterparts, often ready for harvest in just a few weeks. The nutritional density of microgreens packs a powerful punch, with studies showing they can contain higher concentrations of certain vitamins and antioxidants compared to mature plants.
The culinary versatility of microgreens makes them a popular choice among chefs and home cooks alike. These tiny greens add a burst of flavor, texture, and vibrant color to dishes, elevating salads, sandwiches, soups, and more.
What Are the Benefits of Growing Microgreens?
Growing microgreens offers a range of benefits, including access to nutrient-dense greens, a quick harvest time, versatility in cooking applications, and the satisfaction of cultivating your own mini garden indoors or outdoors.
These tiny powerhouses of nutrition are loaded with vitamins, minerals, and antioxidants, making them a valuable addition to any diet. Their rapid growth cycle is impressive; in just a few days, you can have fresh microgreens ready for consumption. Whether you sprinkle them on salads, sandwiches, soups, or use them as garnishes, microgreens add a burst of flavor and texture to dishes.
Growing microgreens at home is a cost-effective way to enhance your meals with premium ingredients. It’s a sustainable practice that reduces waste and carbon footprint, compared to store-bought produce. With a small indoor garden setup, you can enjoy a continuous supply of fresh greens without breaking the bank.
Nutrient-dense
Microgreens are known for being nutrient-dense, packing a concentrated amount of vitamins, minerals, and antioxidants in their small size. These young greens offer a potent burst of nutrients that can enhance the nutritional quality of meals.
For instance, microgreens such as kale, broccoli, and radish are rich in vitamins C, K, and E, as well as minerals like potassium, iron, and magnesium. They contain high levels of health-promoting compounds such as sulforaphane and beta-carotene, known for their antioxidative and anti-inflammatory properties. Regular consumption of these miniature greens may contribute to improved immune function, reduced risk of chronic diseases, and enhanced overall well-being.
Easy to Grow
One of the key benefits of microgreens is their ease of cultivation, making them an ideal choice for beginners and experienced gardeners alike. The straightforward growing process and quick harvest time make microgreens a convenient option for home gardening.
Regarding selecting seeds for your microgreens, opt for high-quality organic seeds to ensure a successful harvest. These seeds are readily available and come in a variety of options such as radish, broccoli, mustard, and more. Choose seeds that are specifically labeled for microgreen production to get the best results.
For planting trays, shallow containers with good drainage are essential. You can repurpose plastic containers or invest in specialized microgreen trays. Ensure the trays are clean and sterilized before planting to prevent mold or disease.
To maintain optimal growing conditions, place the trays in a warm, well-lit area. Indirect sunlight works best for most microgreens, but some varieties may require more or less light. Keep the soil consistently moist by misting it gently with water. Avoid overwatering, as this can lead to mold or rot.
Quick Harvest Time
Microgreens have a short harvest time, typically ready for consumption within 1-3 weeks after planting.
This rapid growth cycle allows for a continuous harvest of fresh greens throughout the growing season.
Timely harvesting is crucial to ensure the peak flavor and nutritional content of microgreens. Harvesting at the optimal stage of growth is key. When the cotyledon leaves appear fully developed and the first true leaves emerge, it’s the perfect time to harvest.
Cutting microgreens just above the soil level with a sharp pair of scissors helps to minimize damage and ensures regrowth for future harvests. It’s advisable to harvest only what you need to maintain freshness and flavor.
Versatile in Cooking
Microgreens offer versatility in cooking, as they can be used to garnish dishes, enhance flavors, and add a nutritional boost to various recipes. These miniature greens are popular in salads, sandwiches, smoothies, and as decorative elements in gourmet cuisine.
When exploring the culinary applications of microgreens, it’s fascinating to discover the range of flavors and textures they bring to the table. From the peppery kick of arugula microgreens to the delicate sweetness of pea shoots, each variety offers a unique taste experience. Imagine sprinkling vibrant red amaranth microgreens over a refreshing watermelon-feta salad or using tender radish microgreens to top off a creamy avocado toast. The possibilities are endless and can elevate the simplest of dishes to gourmet levels.
What Are the Different Types of Microgreens?

There is a wide variety of microgreens available, ranging from classic favorites like broccoli and radish to more exotic options such as chia and amaranth.
These miniature plants not only add a pop of color and freshness to dishes but also contribute specific flavors and textures to culinary creations.
Microgreens like pea shoots offer a sweet, delicate taste, while mustard greens bring a spicy kick.
Growing requirements vary among different microgreen varieties; some thrive in direct sunlight, while others prefer partial shade.
Lesser-known options like shungiku, a Japanese green, or micro basil, can provide an intriguing twist for those looking to expand their home-grown repertoire.
Experimenting with various microgreens can open up a whole new world of culinary experiences right in your own kitchen!
What Are the Ideal Conditions for Growing Microgreens?
Creating optimal conditions for growing microgreens is essential to ensure successful cultivation. Factors such as temperature, light exposure, watering techniques, and soil quality play a vital role in the healthy development of microgreens.
Temperature control is crucial, with most microgreens thriving in a range of 60-75 F. Light exposure is essential; a sunny windowsill or grow lights can provide the necessary illumination. Proper watering is key, ensuring the soil is consistently moist but not waterlogged. Quality soil or growing medium rich in nutrients supports robust growth.
- Ensuring adequate ventilation
- and maintaining cleanliness
are essential practices to prevent mold and diseases.
Temperature
Temperature regulation is crucial for growing microgreens, as these tiny plants thrive in moderate temperatures between 60-75 F. Maintaining consistent warmth is essential for promoting seed germination and healthy growth.
During the germination stage, it’s vital to keep the temperature stable to ensure the seeds sprout and establish strong roots. Fluctuations in temperature can lead to poor growth and even seed failure.
To manage temperature changes, consider using a heating mat or a small space heater set to the recommended range. Creating a microclimate can help shield the plants from external temperature variations. You can achieve this by covering the trays with a clear plastic dome or placing them near a heat source, like a sunny window or grow light.
Light
Light exposure is critical for the photosynthesis process in microgreens, with natural sunlight or artificial grow lights being essential for healthy plant development. Providing adequate light sources and maintaining a consistent light schedule are key factors in successful microgreen cultivation.
Microgreens have different light requirements throughout their growth stages. During the germination and early growth phase, microgreens need around 16-18 hours of light per day to promote strong root development and prevent stretching. As the plants mature, gradually reduce the light exposure to 12-14 hours to avoid excessive heat stress.
The quality of light has a direct impact on plant growth. Microgreens thrive under full spectrum lights such as LEDs or fluorescent bulbs, providing a balanced spectrum that mimics natural sunlight. Positioning the trays closer to the light source helps prevent leggy growth and encourages sturdy, vibrant plants.
Watering
Effective watering practices are essential for the healthy growth of microgreens, with proper moisture levels supporting seed germination and plant development. Overwatering or underwatering can lead to mold growth and issues with root health.
Regarding watering microgreens, one of the best practices is to maintain consistent moisture levels in the soil throughout the growth cycle. Bottom watering involves placing the trays of microgreens in water so that the roots can absorb moisture from below, ensuring that the topsoil remains dry to prevent mold. On the other hand, top watering involves gently watering the soil surface, allowing the water to seep down gradually to reach the roots. To prevent common watering mistakes, it’s crucial to monitor the soil moisture regularly and adjust watering frequency based on the specific needs of the microgreens.
Soil
Choosing the right soil mix is crucial for successful microgreen cultivation, as it provides essential nutrients and support for root development. A well-draining, lightweight soil medium enriched with organic matter is ideal for promoting healthy growth in microgreens.
Organic matter in the soil mix helps in retaining moisture while allowing proper aeration, crucial for the development of sturdy roots.
A suitable soil blend ensures that microgreens have access to the necessary nutrients for their growth, including nitrogen, phosphorus, and potassium.
By opting for a pre-mixed soil, growers can conveniently get a balanced mix right off the shelf, saving time and effort.
On the other hand, custom soil blends allow growers to tailor the composition to specific plant requirements, emphasizing organic ingredients or adjusting drainage properties for different microgreen varieties.
What Are the Common Watering Techniques for Microgreens?
Watering microgreens is a critical aspect of their care, and several techniques can be employed to ensure proper hydration for healthy plant growth. Common watering methods include bottom watering, top watering, misting, drip irrigation, and hydroponic systems.
Bottom watering involves adding water to a tray or container beneath the microgreen trays, allowing the plants to absorb water from the bottom up, mimicking natural hydration processes. This method reduces the risk of fungal diseases by keeping the foliage dry.
On the other hand, top watering involves gently watering the soil surface from above, which can help in distributing moisture evenly and is suitable for seedlings or smaller microgreens.
Misting provides a fine spray of water over the plants, aiding in maintaining humidity levels, especially in drier environments or during the germination phase.
Bottom Watering
Bottom watering is a popular technique for hydrating microgreens, where water is added to the tray or container from the bottom up. This method allows plants to absorb moisture through the soil, promoting healthy root development and minimizing the risk of mold growth.
One of the key advantages of bottom watering is that it prevents overwatering, a common issue that can lead to root rot and stunted growth in microgreens.
To implement bottom watering effectively, begin by placing the microgreens tray in a shallow container filled with water. Ensure that the water level does not exceed the height of the tray’s drainage holes to prevent waterlogging. Let the soil soak up water from the bottom for about 10-15 minutes, allowing the plants to take up the moisture they need. This method helps maintain consistent soil moisture levels, creating a conducive environment for healthy microgreen growth.
Top Watering

Top watering involves applying water directly to the soil surface or plant foliage, allowing moisture to trickle down to the roots. While this method is quick and convenient, it requires careful control to avoid waterlogging the soil or damaging delicate microgreens.
When top watering your microgreens, it’s important to ensure that the water is applied gently to prevent disturbing the seeds or seedlings. One key dos of top watering is to use a fine mist or a gentle stream of water to moisten the soil evenly. Be mindful of avoiding strong jets of water that can dislodge seeds or compact the soil excessively.
- Another important tip is to water early in the day to give the plants time to absorb moisture before nightfall, reducing the risk of mold growth.
- On the other hand, a common don’t with top watering is to avoid overwatering which can lead to soggy soil conditions and root rot. It’s crucial to find the right balance between providing enough moisture and preventing water stagnation.
Misting
Misting is a gentle watering technique that involves spraying a fine mist of water over the microgreens using a spray bottle. This method helps maintain humidity levels and provides moisture without saturating the soil or disturbing delicate seedlings.
One of the key benefits of misting for microgreens is its role in supporting the crucial stages of seed germination and early growth. The fine mist helps to keep the seeds moist, promoting quicker and more uniform germination rates. Misting aids in preventing the soil from drying out too quickly, which can be detrimental to young plants.
For optimal results, it is recommended to mist your microgreens at least once a day, preferably in the morning or evening when temperatures are cooler. Consistency is key to avoid water stress, so ensure that the mist is gentle and evenly distributed, covering all the plants.
Drip Irrigation
Drip irrigation is a precise watering system that delivers water directly to the base of the microgreens through a network of tubes or emitters. This method ensures efficient water distribution and reduces the risk of overwatering or underwatering.
Setting up a drip irrigation system for your microgreens involves a few key steps. Gather the necessary components such as a main water line, drip tubing, connectors, and emitters.
Next, place the main water line along the rows of microgreens, ensuring it reaches all plants. Attach the drip tubing to the water line, strategically placing the emitters close to each plant’s base.
Regular maintenance is crucial for optimal performance. Check for clogs in the emitters, replace any damaged parts, and adjust the flow rate as needed to match the plants’ water requirements.
Hydroponics
Hydroponics is a soilless growing method that involves cultivating microgreens in a nutrient solution, allowing roots to directly access essential minerals and water. This technique promotes rapid growth and can be customized for different types of microgreens.
By eliminating the need for soil, hydroponic systems reduce water consumption significantly, making them an eco-friendly choice for sustainable agriculture. In hydroponics, plants uptake nutrients more efficiently, leading to healthier and more flavorful microgreens. The key principles of hydroponic cultivation involve maintaining the correct pH levels and oxygenation of the nutrient solution to support optimal plant development.
To set up a hydroponic system for microgreen production, start by selecting a suitable container or tray with proper drainage. Next, choose an appropriate growing medium such as perlite or coconut coir to support the roots. Then, install a reliable water pump and timer to ensure regular irrigation for the plants. Place the system in a well-lit area or use artificial grow lights to provide adequate light for photosynthesis.
What Are the Best Practices for Watering Microgreens?
Watering microgreens requires adherence to specific best practices to ensure optimal hydration and prevent common issues such as overwatering or underwatering. Consistency, water quality, drainage observation, and appropriate watering techniques are key factors in successful microgreen cultivation.
One crucial aspect of effective watering is maintaining consistent moisture levels. Microgreens are delicate and depend on a steady supply of water to thrive. Ensuring the soil is evenly moist, not waterlogged, is essential. The quality of water used is also important; opt for filtered water to prevent any harmful chemicals or impurities from affecting the plants. Monitor the drainage in your containers to prevent water from stagnating at the bottom, which can lead to root rot and other issues.
Consistency
Maintaining consistent watering schedules is crucial for the healthy growth of microgreens, as fluctuations in moisture levels can stress the plants and affect their development. Regular monitoring and adjusting of watering routines are essential to ensure optimal hydration.
When creating a reliable watering schedule for microgreens, consider factors such as the type of microgreen, the growing medium used, and the ambient temperature and humidity levels. It is recommended to water microgreens once or twice a day, keeping the soil consistently moist but not waterlogged.
Assessing moisture requirements is vital; you can check the soil moisture by inserting a finger into the growing medium or using a soil moisture meter. Microgreens rely on consistent moisture to thrive, and erratic watering can lead to issues like stunted growth, wilting, and even mold development.
Avoid Overwatering
Overwatering is a common issue that can harm microgreens by causing root rot, mold growth, and nutrient leaching. It is essential to avoid saturating the soil and allow for proper drainage to prevent waterlogged conditions.
One of the key risks of overwatering is that it can lead to the suffocation of roots due to the lack of oxygen in the soil. This can also create an environment conducive to mold and fungal growth, which further damages the delicate microgreens. Excess moisture can cause nutrients to leach away, depriving the plants of essential nourishment.
To prevent overhydration, it is crucial to closely monitor the moisture levels in the growing medium. Signs of overwatering include wilting, yellowing, or stunted growth. Adjusting the watering frequency and volume based on the specific needs of your microgreens can help maintain optimal moisture levels without overdoing it.
Use Filtered Water
Using filtered water for watering microgreens helps maintain optimal soil health and prevents the buildup of harmful substances that can affect plant growth. Filtered water reduces the risk of contaminants and ensures that microgreens receive clean, mineral-rich hydration.
Water filtration systems are crucial tools when it comes to cultivating microgreens as they help preserve the delicate balance of nutrients essential for their growth. By removing impurities like chlorine, heavy metals, and other pollutants, filtered water safeguards the plants from potential damage and minimizes the likelihood of diseases. Using filtered water in the irrigation process supports the development of vibrant and flavorful microgreens, enhancing not only their visual appeal but also their nutritional value.
Observe Drainage
 Monitoring drainage is essential when watering microgreens to prevent waterlogging and ensure adequate air circulation in the root zone. Proper drainage promotes healthy root development and reduces the risk of mold or fungal growth in the growing medium.
Observing drainage patterns in microgreen trays or containers plays a crucial role in optimizing watering practices. A key tip is to tilt the trays slightly to allow excess water to escape, preventing stagnant water accumulation. Selecting soil mixes that are well-draining, such as those with perlite or vermiculite, aids in maintaining proper moisture levels. It’s important to regularly check the drainage holes to ensure they are clear and not obstructed, facilitating efficient water flow. By enhancing the drainage system and monitoring moisture levels, growers can create the ideal environment for thriving microgreens.
Frequently Asked Questions
What are the best watering techniques for lush microgreens?
The best watering techniques for lush microgreens include bottom watering, misting, and overhead watering.
What is bottom watering and how does it benefit microgreens?
Bottom watering involves pouring water directly into the tray or container from the bottom. This allows the water to be absorbed by the roots, providing consistent moisture and preventing damage to the delicate leaves.
When should I use misting as a watering technique for microgreens?
Misting is a great option for watering microgreens that are particularly delicate or prone to damage. It allows for gentle and even distribution of water without disturbing the tender leaves.
Is overhead watering recommended for lush microgreens?
Overhead watering is not recommended for lush microgreens as it can cause damage to the delicate leaves and increase the risk of fungal growth. It is best to use other watering techniques such as bottom watering or misting.
How frequently should I water my lush microgreens?
The frequency of watering will depend on the type of microgreens and the environment they are grown in. Generally, microgreens should be watered once or twice a day. It is important to monitor the moisture level and adjust watering accordingly.
What are some signs that my microgreens are not being watered properly?
Signs that your microgreens are not being watered properly include dry or wilting leaves, yellowing or browning of leaves, and stunted growth. It is important to regularly check the moisture level and adjust watering techniques to ensure the health of your microgreens.
Leave a Reply