Curious about microgreens and how to harvest them for maximum yield?
In this article, we will explore what microgreens are, why you should harvest them, the best microgreens to grow, and the step-by-step process of harvesting them.
From choosing the right time to cut, using the correct tools, and storing them properly, we will cover all the essential tips to help you get the most out of your microgreen harvest.
Let’s dive in and discover the benefits of growing and harvesting these nutrient-packed greens!
Key Takeaways:

What Are Microgreens?
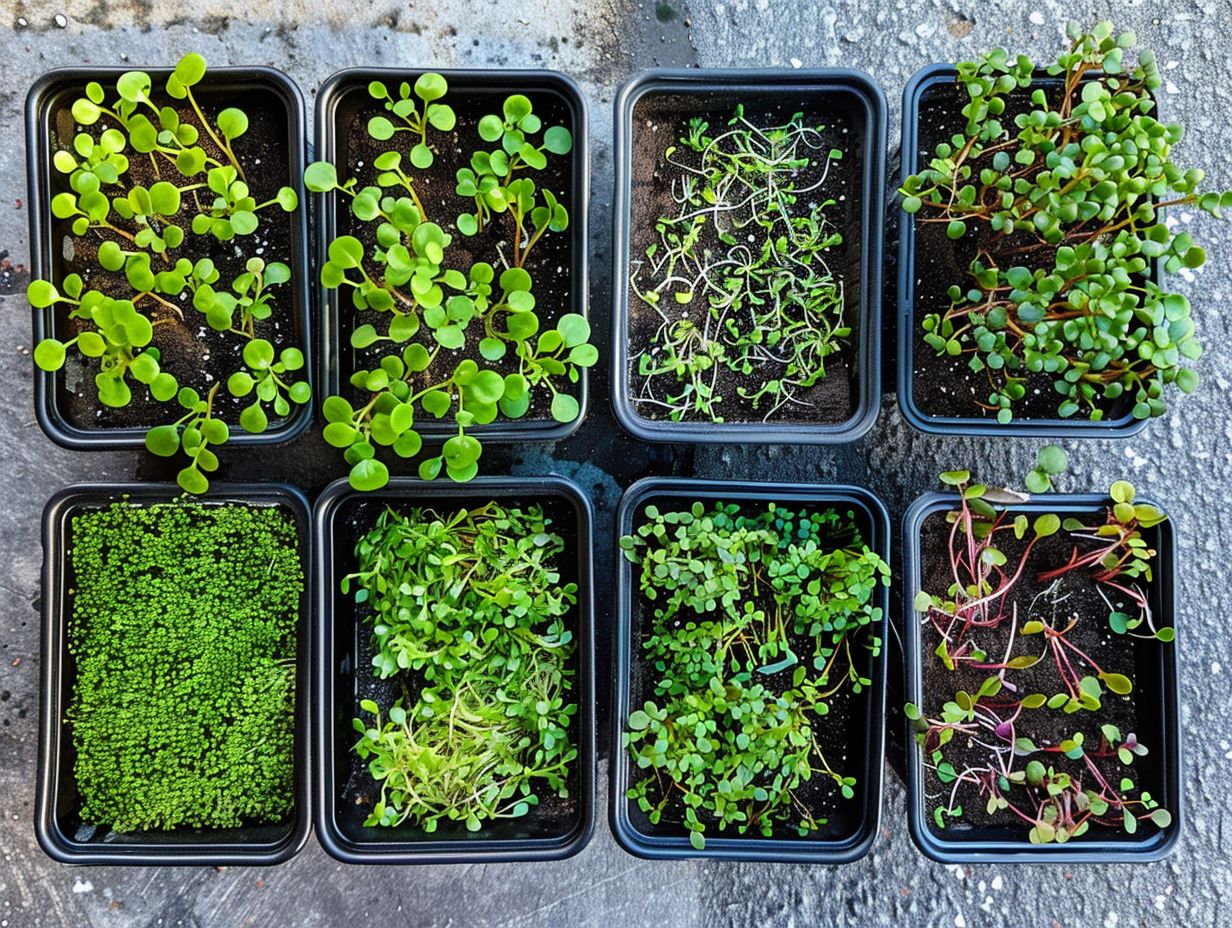
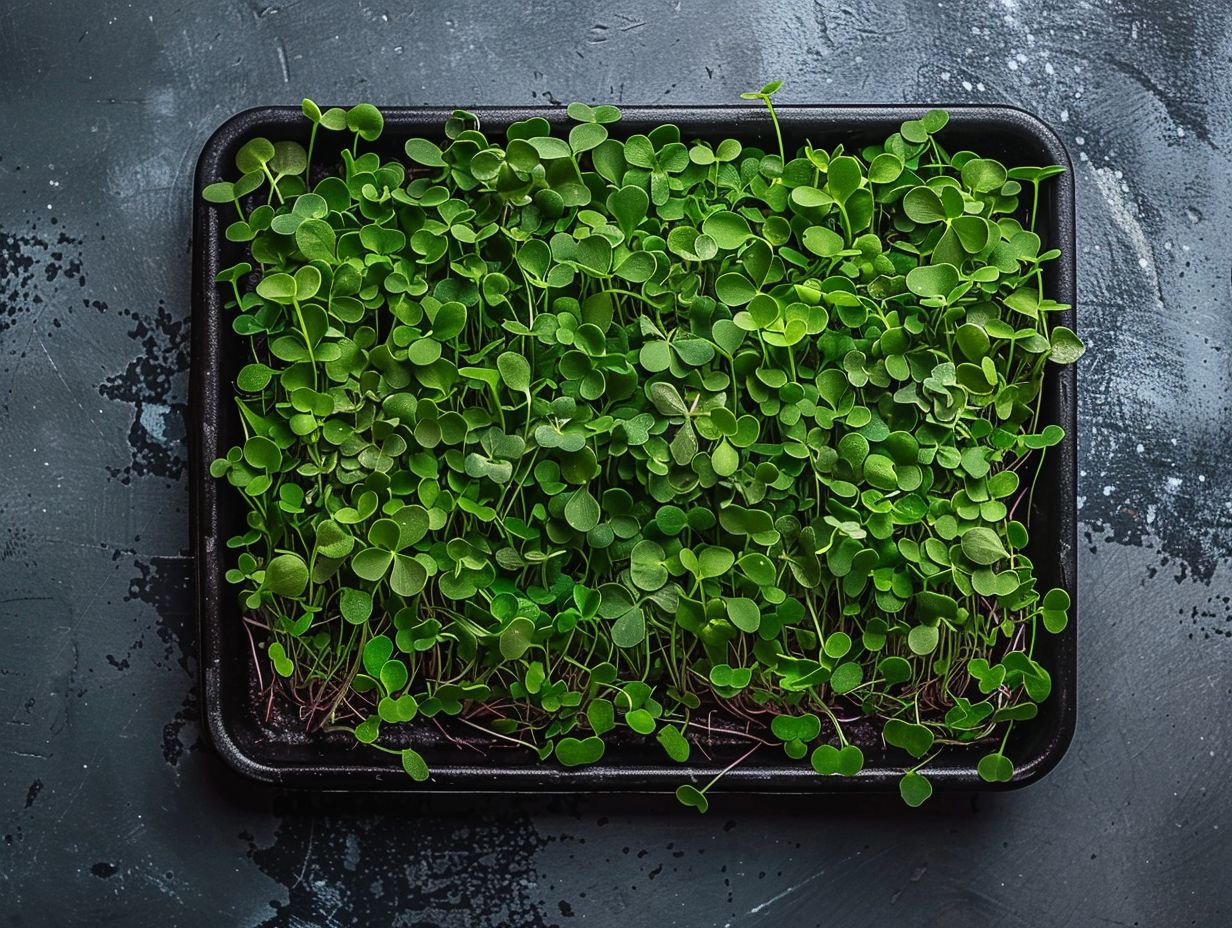
Microgreens are young vegetable greens that are approximately 1-3 inches tall and are harvested just after the first leaves, called cotyledons, have developed. These tiny greens are packed with flavor and nutrients and are grown from the seeds of various vegetables and herbs in a soil or growing medium.
During the growth stages of microgreens, they undergo several key phases. The process starts with germination, where the seed sprouts and roots begin to form. As the seedling matures, it develops its first set of true leaves, distinct from the initial cotyledons. At this stage, the plant begins photosynthesizing and increasing in size. The ideal harvest time for microgreens varies depending on the type of plant, but it is generally when the leaves are tender and flavorful. Harvesting too early or too late can affect the taste and texture of these delicate greens.
Why Should You Harvest Microgreens?
Harvesting microgreens ensures that individuals enjoy the peak of taste, flavor, and nutrition, making them an essential addition to the diets of health-conscious individuals. These nutrient-dense greens not only provide a garden-fresh flavor but also offer various health benefits.
Microgreens are packed with essential vitamins, antioxidants, and minerals, offering concentrated doses of nutrition in each colorful leaf.
Their vibrant hues indicate the presence of different beneficial compounds, with red ones boasting high levels of lycopene and green varieties rich in chlorophyll.
Incorporating microgreens into daily meals can boost immune function, improve digestion, and contribute to overall well-being.
To preserve their freshness and nutrients, proper storage in airtight containers in the refrigerator is crucial, ensuring they stay crisp and flavorful for longer periods.
What Are the Best Microgreens to Grow?
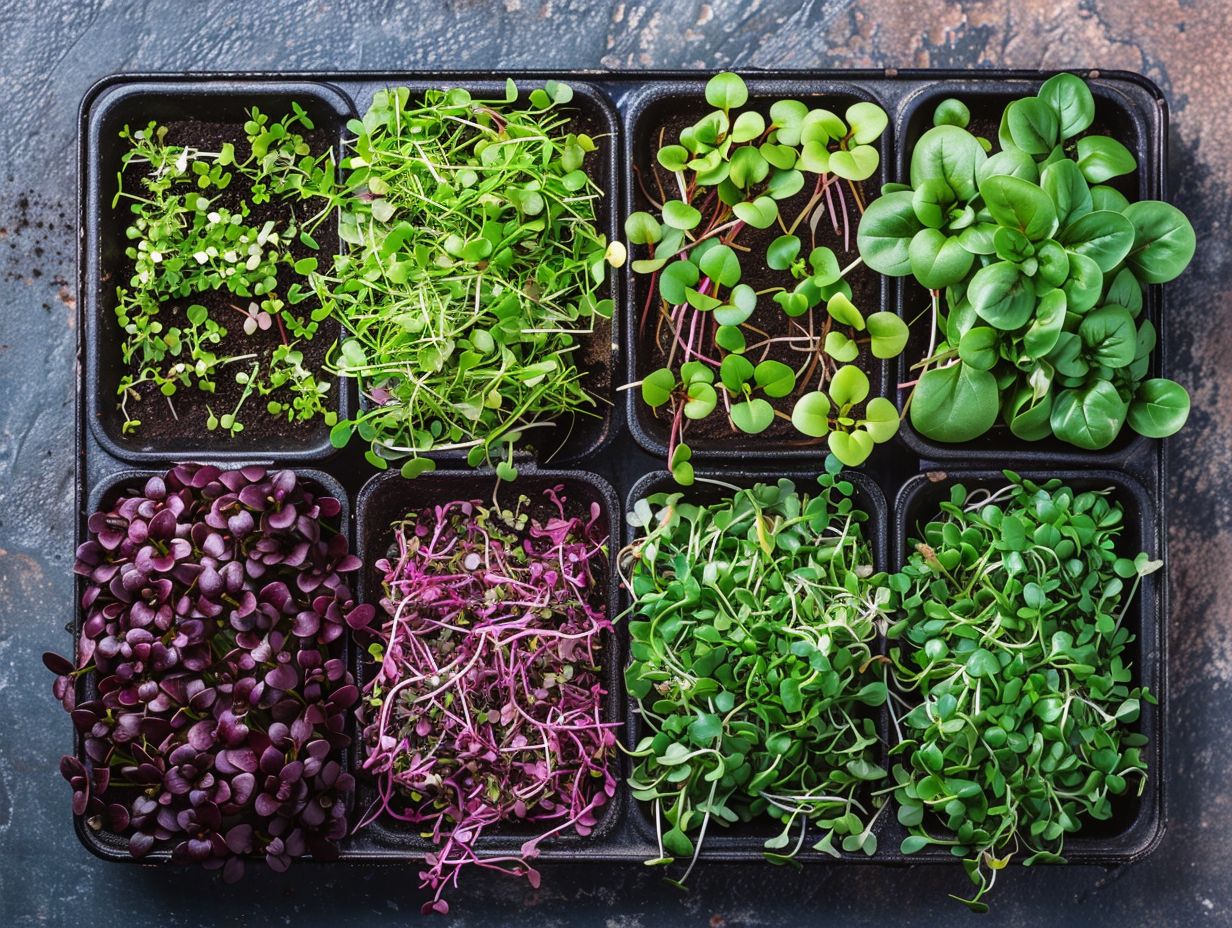
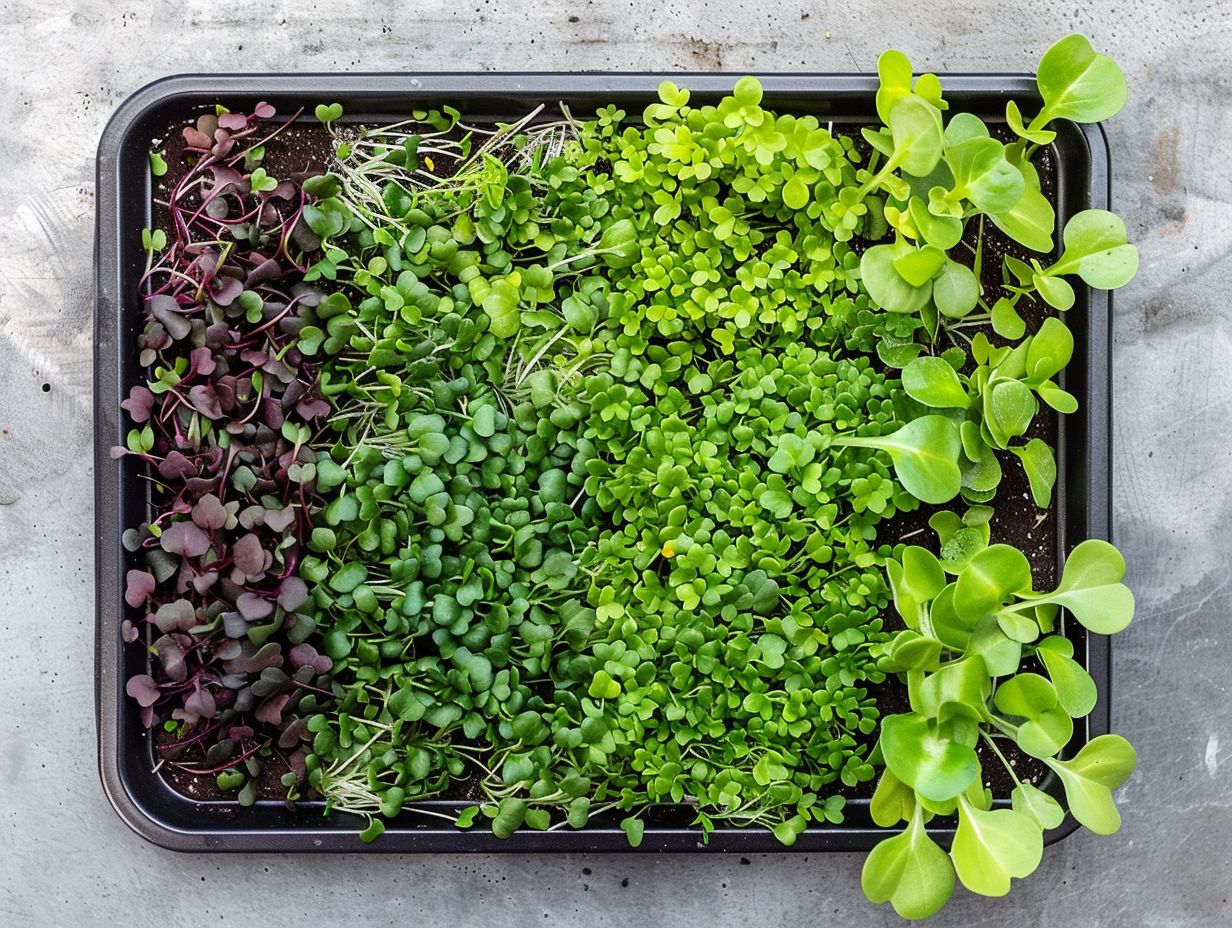
Regarding growing microgreens, there is a wide variety to choose from, each offering unique flavors, textures, and colors. Some popular microgreens include Arugula, Red Cabbage, Mustard, and Kale, providing a comprehensive resource for those interested in cultivating these nutrient-packed greens.
- Arugula microgreens are known for their peppery and slightly nutty taste, adding a zesty kick to salads and sandwiches.
- Red Cabbage microgreens offer a hint of brassica flavor with their vibrant purple leaves, perfect for both garnishing and enhancing dishes.
- Mustard microgreens bring a spicy, bold flavor reminiscent of their mature counterparts, ideal for adding a burst of heat to various dishes.
- Kale microgreens are prized for their earthy, slightly sweet taste and are packed with essential nutrients, making them a popular choice for health-conscious individuals.
Arugula
Arugula microgreens reach the true leaf stage around 10-14 days after sowing, indicating the optimal time for harvesting these delicate greens. Understanding the growth stages of Arugula microgreens is crucial for maximizing their flavor and nutritional content.
As Arugula microgreens develop, they progress through different growth phases, starting with the cotyledon stage where the first seed leaves emerge, followed by the emergence of the true leaves. The true leaf stage is a critical phase where the microgreens exhibit their distinctive peppery flavor and reach peak nutritional value. Harvesting at this stage ensures the best taste and nutrient concentration. Proper harvesting techniques, such as cutting just above the soil level with clean scissors, help maintain freshness and minimize damage to the remaining crop for continued growth.
Broccoli
Broccoli microgreens exhibit visual cues such as color intensity and size to determine readiness for harvest. Employing proper harvesting techniques and understanding the stacking time for Broccoli microgreens are essential for ensuring the best quality and taste.
When harvesting Broccoli microgreens, it’s crucial to look for vibrant shades of green, indicating peak nutrient content. The size of the microgreens also plays a vital role, with optimal sizes offering the perfect balance of flavor and texture.
By gauging the color intensity and size, you can ensure that your Broccoli microgreens are harvested at their nutritional peak. Stacking time, the process of exposing the greens to controlled pressure, further enhances their flavor profile and crispness.
Radish
Radish microgreens develop vibrant color intensity, indicating their readiness for harvest. Properly storing Radish microgreens after harvest ensures that you retain their health benefits and freshness, making them a valuable addition to your diet.
Color intensity in Radish microgreens not only serves as a visual cue for optimal harvest time but also signifies the concentration of essential nutrients. The vivid hues in these greens often correspond to high levels of antioxidants, vitamins, and minerals crucial for overall health. By harvesting at the peak of color intensity, you guarantee maximum nutritional value.
Regarding storing Radish microgreens post-harvest, it’s essential to keep them refrigerated in an airtight container lined with a paper towel. This method helps maintain their crispness and nutritional integrity for longer periods, ensuring that you get the most out of your home-grown greens.
Sunflower
Sunflower microgreens offer the ideal harvest time when they reach their peak of flavor and nutrition, perfect for incorporating into baby salads or as a garnish. The delicate taste and nutrient-rich profile make Sunflower microgreens a delightful addition to various dishes.
These young greens provide a burst of fresh, earthy flavor that enhances the overall taste of a dish. Rich in essential vitamins, minerals, and antioxidants, they not only elevate the nutritional value but also add a vibrant visual appeal to culinary creations.
Harvesting Sunflower microgreens at the right moment ensures they are packed with the maximum flavor intensity and nutrient density, making them a versatile ingredient in salads, wraps, sandwiches, and even smoothies. Their tender texture and subtle nutty taste balance well with other ingredients, creating a harmonious and palate-pleasing combination.
How to Harvest Microgreens for Maximum Yield?
Harvesting microgreens for maximum yield requires employing expert techniques that consider the growth stages and variety-specific characteristics of the greens. By understanding the optimal harvesting methods, you can ensure a bountiful harvest of fresh and flavorful microgreens.
Regarding harvesting microgreens, it’s essential to pay close attention to the growth stages. At the initial growth phase, commonly known as the cotyledon stage, the microgreens are typically ready for harvesting within 7-14 days after sowing. This stage is characterized by the appearance of the first set of true leaves. Harvesting at this point ensures tender and flavorful greens.
Choose the Right Time to Harvest
 Selecting the right time to harvest microgreens is crucial and varies based on the specific variety and the growth stage of the plants. Understanding the germination stage and variety-specific characteristics aids in determining the optimal harvest time for each type of microgreen.
Timing plays a vital role in ensuring that you get the best flavor, texture, and nutritional value from your microgreens. For example, some varieties like arugula may be ready to harvest as early as 7-10 days after germination, while others such as broccoli might require slightly longer growing periods.
During the germination stage, focusing on maintaining adequate moisture levels and providing optimal growing conditions sets the foundation for healthy plant development, setting the stage for a successful harvest.
Keeping an eye on variety-specific indicators such as the appearance of true leaves, height, color, and taste can help you pinpoint the precise moment when each type of microgreen is at its peak for harvest.
Use the Right Tools
Utilizing the right tools, such as sharp scissors or a clean harvesting container, is essential for ensuring a smooth and efficient harvest of microgreens. Following proper harvesting recommendations and using suitable tools helps maintain the quality and freshness of the greens.
When selecting tools for harvesting microgreens, consider the size and type of the container opt for containers that allow easy access to the plants for cutting. A shallow, wide container works well for harvesting, providing ample space to maneuver and prevent damage to the delicate leaves. Sharp scissors are a must-have tool, as they enable clean cuts without crushing the greens. Having a separate, dedicated container for harvesting helps prevent contamination and ensures the harvested microgreens stay fresher for longer.
Cut Above the Soil Line
When harvesting microgreens, ensure to cut the stems just above the soil line to preserve the leaves and allow for regrowth. Implementing blackout time before harvest enhances the flavor and texture of microgreens, ensuring a more enjoyable culinary experience.
Blackout time, also known as light deprivation, involves covering microgreens to increase the concentration of nutrients and intensify their flavor. By cutting the leaves correctly above the soil line, you can encourage the plants to produce new growth, prolonging your harvesting cycle. Proper cutting practices are crucial to avoid damaging the delicate leaves and to promote healthy regrowth. Experimenting with different blackout durations can help you discover the ideal balance of flavors in your microgreens.
Handle with Care
Microgreens are delicate greens that require gentle handling during the harvesting process to prevent damage and maintain their quality. Treat these baby greens with care to ensure they stay fresh, vibrant, and flavorful for consumption.
When harvesting microgreens, it is crucial to remember that these tender greens are at risk of bruising and wilting if not handled gently. To preserve their delicate texture and flavor, avoid excessive pressure and rough movements. Handle them with soft hands and use sharp, clean scissors to snip the stems neatly at the base. It is also beneficial to harvest during the early morning or evening when the plants are less stressed and full of moisture, enhancing their taste and nutrients.
Rinse and Dry the Microgreens
After harvest, it is essential to rinse and dry the microgreens thoroughly to remove any residual growing medium and ensure cleanliness. Properly handling the cleaning process helps retain the freshness and quality of the harvested greens.
Start by placing the harvested microgreens in a colander or strainer under gentle running water. Rinsing effectively removes any dirt, debris, or growing medium residues clinging to the greens. Ensure that the water isn’t too forceful, as delicate greens can get damaged easily.
Once thoroughly rinsed, pat the microgreens gently with a clean cloth or paper towel to dry them. Avoid using excessive force to prevent bruising the leaves. Adequate drying is crucial as excess moisture can lead to spoilage during storage.
How to Store Microgreens?
Properly storing microgreens after harvest is crucial for preserving their freshness and extending their shelf life.
Regarding keeping microgreens at their best, refrigeration in a plastic bag is a popular method. The plastic bag helps retain humidity while allowing air circulation, preventing moisture loss and maintaining texture. Alternatively, wrapping them in a damp paper towel before refrigeration can help maintain moisture for longer-lasting freshness.
- For keep the flavors intact post-harvest, try to store microgreens in the crisper drawer of the refrigerator, away from ethylene-producing fruits and vegetables that could accelerate wilting.
- For those looking to prolong the shelf life of delicate sprouts like microgreens, consider using resealable containers or storage bags to reduce exposure to air and maintain optimal conditions.
Refrigerate in a Plastic Bag
Storing microgreens in a plastic bag in the refrigerator helps maintain their quality by preserving moisture and preventing wilting. Proper refrigeration ensures that you can enjoy the health benefits and freshness of microgreens for an extended period.
When microgreens are refrigerated in plastic bags, the controlled environment helps in retaining the ideal moisture levels needed for the greens to stay crisp and vibrant. Keeping them cool prevents premature wilting, ensuring that they remain flavorful and visually appealing.
Preserving the freshness of microgreens not only enhances their taste but also locks in essential nutrients, such as vitamins, minerals, and antioxidants. This careful preservation method helps in sustaining the nutritional value of the microgreens over time, making them a powerhouse of health benefits.
Use a Damp Paper Towel
Placing microgreens on a damp paper towel before refrigeration helps maintain their color intensity and crispness.
The moisture retained from the damp paper towel acts as a protective barrier, preventing the microgreens from wilting or losing their vibrant hues.
To further extend the freshness post-harvest, consider re-dampening the paper towel periodically to ensure the microgreens remain hydrated.
For a visually appealing presentation, arrange the microgreens on a contrasting plate or dish to highlight their colors, creating an eye-catching display.
Freeze for Long-term Storage
For long-term storage, consider freezing microgreens in airtight containers or zip-lock bags.
Freezing preserves the flavor and nutritional content of microgreens, allowing you to enjoy their freshness even after an extended period.
Stored properly, frozen microgreens can retain their vibrant colors and flavors, making them a convenient addition to your dishes year-round.
Using airtight containers is crucial as it helps prevent freezer burn and maintain the freshness of the microgreens.
To maximize the shelf life of frozen microgreens, ensure that you remove any excess air from the container before sealing it tightly.
What Are the Benefits of Harvesting Microgreens?
 Harvesting microgreens offers numerous benefits, including higher nutrient content compared to mature plants, cost-effectiveness in cultivation, and the ease of growing and harvesting these flavorful greens. Incorporating microgreens into your diet can enhance your overall nutritional intake and culinary experiences.
Microgreens are packed with essential vitamins such as vitamin C, vitamin K, and vitamin E, making them a powerhouse of nutrition in a small package. Their concentrated nutrient levels make them an excellent addition to salads, sandwiches, smoothies, and various dishes.
Growing microgreens at home is a cost-effective way to elevate your dishes while reducing grocery expenses.
The simplicity of cultivating microgreens makes them a great option for beginner gardeners or those with limited space. You can grow them indoors throughout the year, requiring minimal equipment and little time commitment.
Harvesting microgreens at the peak of their freshness allows you to savor the full spectrum of flavors and health benefits they offer.
Higher Nutrient Content
Microgreens are rich in essential nutrients like Vitamin C, making them a valuable addition to a health-conscious diet.
The nutrient-dense nature of microgreens provides an array of health benefits, promoting overall well-being and vitality. Vitamin C in microgreens acts as a powerful antioxidant, protecting cells from damage and strengthening the immune system. Including microgreens in your meals can boost your intake of this vital nutrient, which plays a key role in collagen production and iron absorption. The fiber content in microgreens supports digestion, while their low-calorie profile makes them a fantastic choice for weight management.
Fresher and More Flavorful
Harvesting microgreens at the right time ensures that you enjoy fresher and more flavorful greens with the optimal taste profile.
Microgreens are packed with intense flavors and concentrated nutrients, making them a versatile addition to salads, sandwiches, and various culinary creations. The essence of the microgreen’s taste is at its peak when harvested during the early growth stages, offering a burst of freshness that elevates the overall dish.
Optimal harvest timing plays a crucial role in preserving the delicate flavors these young greens offer. Waiting too long to harvest can result in a decline in taste quality, while harvesting too early may lead to underdeveloped flavors. By carefully monitoring the growth stages and harvesting at the right moment, you can ensure your microgreens deliver a vibrant and robust taste experience.
Cost-effective
Growing and harvesting microgreens is a cost-effective way to access nutrient-rich greens at home. By utilizing a variety-specific growing medium, you can cultivate microgreens economically and enjoy a constant supply of fresh and healthy greens.
Not only does growing microgreens offer nutritional benefits, but it also proves to be kind on your wallet in the long run. By choosing the right growing medium suited to each type of microgreen, you can optimize growth and minimize expenses. Home-grown microgreens not only cost less than store-bought options but also ensure that you have a sustainable supply of freshly harvested greens right in your kitchen.
Easy to Grow and Harvest
Microgreens are favored by health-conscious individuals for being easy to grow and harvest at home.
These young and tender greens are packed with essential nutrients and flavors, making them a perfect addition to salads, sandwiches, and smoothies. Growing microgreens at home requires minimal space, sunlight, and effort. You can start by selecting your favorite seeds like broccoli, radish, or pea shoots, and sow them in a shallow tray with some moist soil. Make sure to keep them in a well-lit area and water them regularly to ensure proper growth.
As they sprout and develop, harvesting microgreens is a simple task. Use clean scissors to trim the greens just above the soil level when they reach a couple of inches in height. This way, you can enjoy a steady supply of fresh microgreens without the need for multiple shopping trips. Experiment with different seed varieties and combinations to create your customized mix of vibrant and nutritious microgreens for a delicious boost to your meals.
Frequently Asked Questions
1. How do I know when it’s the right time to harvest my microgreens for maximum yield?
The best time to harvest microgreens for maximum yield is when they have grown to about 1-2 inches in height and have developed their first set of true leaves.
2. What is the best method for harvesting microgreens to ensure maximum yield?
The best method for harvesting microgreens is to use clean scissors or a sharp knife to cut the greens just above the soil level. This allows for continuous growth and maximum yield.
3. Should I harvest all of my microgreens at once or can I harvest them over time?
It is recommended to harvest all of your microgreens at once, as harvesting individual leaves can disrupt the growth of the remaining plants and decrease overall yield.
4. Can I reuse the soil after harvesting my microgreens for maximum yield?
Yes, you can reuse the soil after harvesting your microgreens. It is important to remove any remaining roots and debris and allow the soil to dry out before using it again.
5. What is the best way to store harvested microgreens for maximum freshness?
The best way to store harvested microgreens is to place them in an airtight container or plastic bag and store them in the refrigerator. They should be used within a few days for maximum freshness.
6. Do I need to wash my harvested microgreens before consuming them?
Yes, it is important to wash your harvested microgreens before consuming them to remove any potential dirt or bacteria. Gently rinse them with cold water and pat dry before use.
6. Do I need to wash my harvested microgreens before consuming them?
Yes, it is important to wash your harvested microgreens before consuming them to remove any potential dirt or bacteria. Gently rinse them with cold water and pat dry before use.

Leave a Reply